The Witcher Free Amigurumi Crochet Pattern

THE WITCHER FREE AMIGURUMI CROCHET PATTERN
Inspired by the Netflix series.
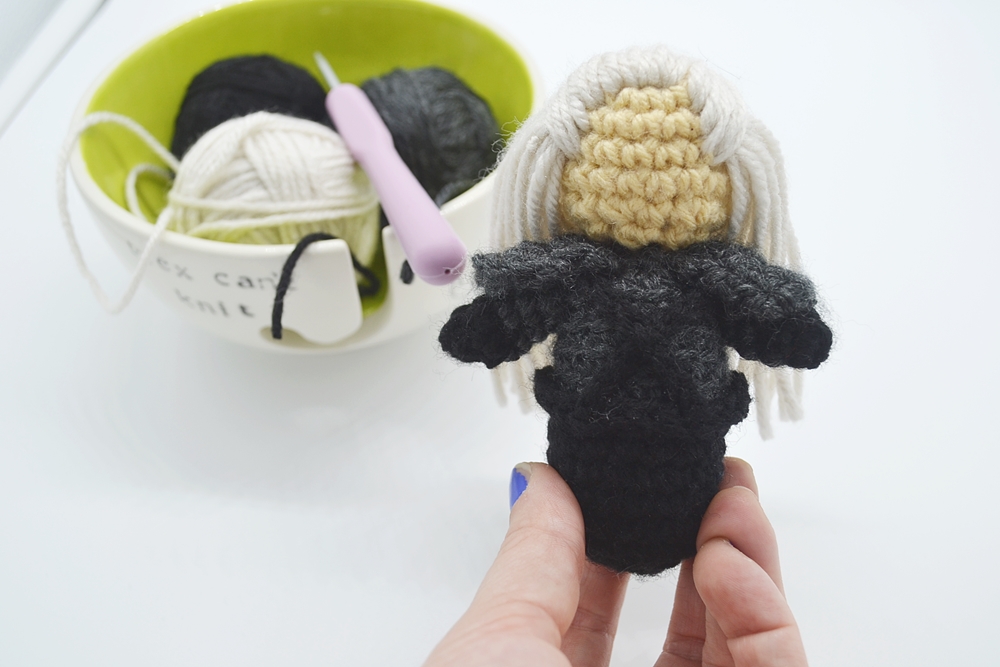
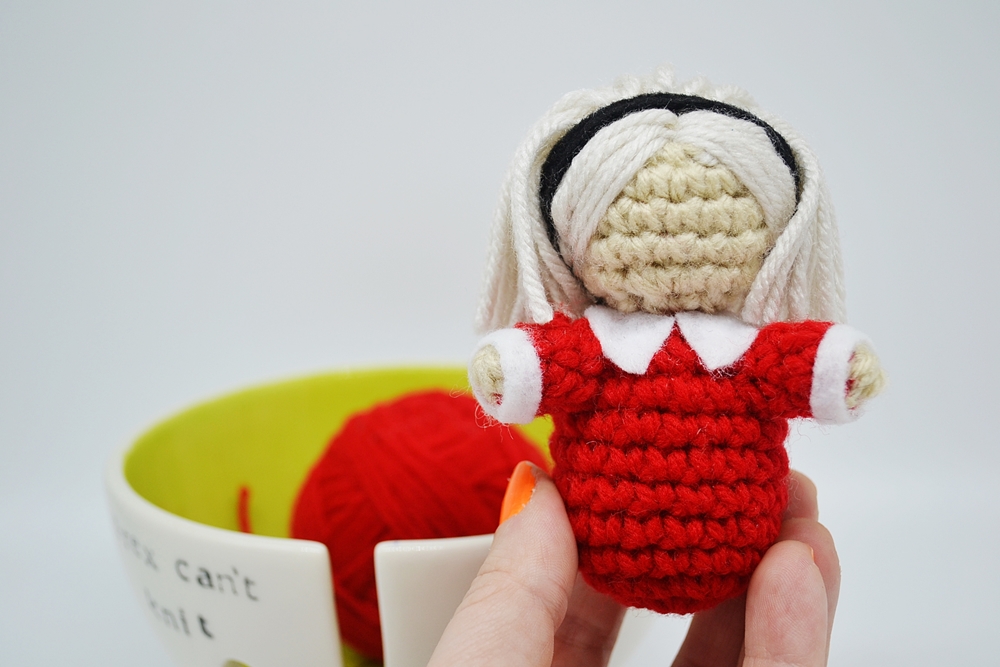
I had only seen The Witcher promo on our Netflix homescreen over the holidays and was sure we would never watch it when my brother-in-law played “Toss A Coin To Your Witcher” on repeat at Christmas. A week later we had a free evening and binged the whole first season. It had some odd moments, but I really enjoyed it. I immediately thought the characters would make fun amigurumi and here I am a few weeks later, with my free amigurumi crochet pattern for Geralt of Rivia aka The Witcher. Young Yennefer is coming soon!
I am hoping to add more photos to this to clarify some of the steps. If you have any questions about the pattern or suggestions to make it better, please don’t hesitate to send a message to me on our Facebook or Instagram.
Would you like an ad-free printable PDF of this pattern? We have one on Etsy for just $3! Click here.
This post contains affiliate links, which means if you click on a link and make a purchase we may receive a very small commission which helps pay for our website hosting. Thank you so much for supporting us!

Would you like an ad-free printable PDF of this pattern? We have one on Etsy for just $3! Click here.
SUPPLIES
3.75mm (F) hook
Polyfil
Yarn needle (bent tip works best)
4 medium worsted weight yarn, you will need a small amount of the following colors:
- Black
- Dark gray
- Light beige (white skin tone)
- Off white/very light gray
GAUGE
4 rows of 4 sc across = 1 inch square
This amigurumi doll is all worked in the round without joining each round. Use the color change method of your choice. The body, head, hair, arms, belt and armor are all made separately and sewn together using a yarn needle.
ABBREVIATIONS
st = stitch
sc = single crochet
scBLO = single crochet in back loop only
ch = chain
sl st = slip stitch
inc = increase (work two sc in one st)
dec = decrease (2 single crochet together)
decBLO = decrease working in BLO (2 single crochet together)
[…] = repeat instructions in brackets the indicated number of times
(…) = number of stitches in that row.

Would you like an ad-free printable PDF of this pattern? We have one on Etsy for just $3! Click here.
BODY
Black yarn.
Rnd 1. sc 6 in magic ring (6)
Rnd 2. inc in next 6 st. (12)
Rnd 3. [sc in next st, inc] 6 times (18)
Rnd 4-8. sc in each st around (18)
Change to dark gray yarn.
Rnd 9. sc in each st around (18)
Rnd 10-13 (4 rows total). scBLO around. (18)
Rnd 14. [scBLO in next st, decBLO] around. (12)
Rnd 15. [dec] 6 times. (6)
Finish and stuff. Tail will not be used for sewing, so stuff tail inside body or weave in.
Note – if you find it difficult to stuff, pull out round 15 and try stuffing after round 14 and then finish round 15 while body is stuffed.
HEAD
Light beige (white skin tone) yarn.
Rnd 1. sc 6 in magic ring (6)
Rnd 2. inc in next 6 st. (12)
Rnd 3. [sc in next st, inc] 6 times (18)
Rnd 4-6. sc in each st around (18)
Rnd 7. [sc in next st, dec] around. (12)
Row 8. [dec] 6 times (6)
Finish and stuff. Leave long tail for sewing.
Note – if you find it difficult to stuff, pull out round 8 and try stuffing after round 7 and then finish round 8 while body is stuffed.
ARMS
Make 2.
Black yarn.
Rnd 1. sc 6 in magic ring. (6)
Rnd 2. sc in each st around. (6)
Color change to dark gray.
Rnd 3-5. sc in each st around. (6)
Finish, tie off, and stuff. Leave a long tail for sewing.
SHOULDER ARMOR PIECES
Make 2.
Dark gray yarn.
Row 1. ch 6, turn, skip first ch, sc 5, ch 1, turn. (5)
Row 2-4. inc in next 4 st (8)
Finish and leave ends long. One will be woven in, one will be used to sew on the armor piece.
BELTS
Maker’s Choice: These could be done with ribbon, felt strips or black yarn shown. Use the technique you find most comfortable.
How to make with chains of black yarn.
ch 25, sl st to beginning of chain to create a loop. This is the belt. Turn work, and ch 15 off the belt. Leave tail for attaching. Attach yarn four st away from where the ch 15 started and create another ch 15. Leave tail for attaching. Belt piece will be attached last.

ASSEMBLY
Assemble in this order for best results!*
Attach head to body.
Using a yarn needle, attach head to body at openings using your preferred method of sewing together amigurumi parts. Each opening will have six stitches and line up evenly. I prefer to use a method where you create a vertical stitch by stitching behind the post from right to left on each stitch.
Attach arms to body.
Position arms as desired on body and sew on using long tail from arm and a yarn needle. If it helps, you can use a stitch marker or small pin to hold the arms in place while you are working. I usually put them about one row below the top of the body/bottom of the head and a little to the front.
Attach belt detail.
Put belt on doll with the attached straps on the back. Pull them up over shoulders and criss cross in front. (Do not cross in back.) Attach by tying or with a slip stitch to the belt on the front. The tails on the front and back can also be used to secure the belt in position onto the body when weaving the ends in.
Attach shoulder armor pieces.
Sew on at shoulder using tail from one end. Piece will be loose on other end. Weave in extra tail.
Attach hair to head.
Hair is made with off white/very light gray yarn using the yarn fringe hair technique from the book Creepy Cute Crochet by Christen Haden, http://www.needlenoodles.com. Click here for a full tutorial. For Witcher, I did only two layers of hair fringe, attached leaving the very top of the head bald. Then, the pulled back section of the hair is embroidered on and covers the top of the fringe. I highly recommend this hair method, it is by far the easiest I’ve tried so far. Of course, you can also use the hair placement & creation method that you like best.
*If you are new to amigurumi, assembly can be tough! Here are some tutorials from other websites to help you through.
For attaching open pieces (like the head and body)
For attaching closed pieces (like the arms to the body)

PATTERN DISCLAIMER
If you sell products made from this pattern please credit the design to Carly Arnold of Unicorn Hideout, and provide a link to the website www.unicornhideout.com. If you wish to sell your own products made from this pattern, you are not permitted to use, in part or full, any descriptions or photos from this pattern. Photos from unicornhideout.com are not permitted for use on any website, social media or pattern roundup page. If you would like to share a photo and link to this pattern, please email me at unicornhideout@gmail.com for permission. Please do not sell, distribute, duplicate, or share these patterns or downloads in any printed or digital form, or claim patterns as your own original designs.


