Lil Jason Amigurumi Free Crochet Pattern | Friday The 13th
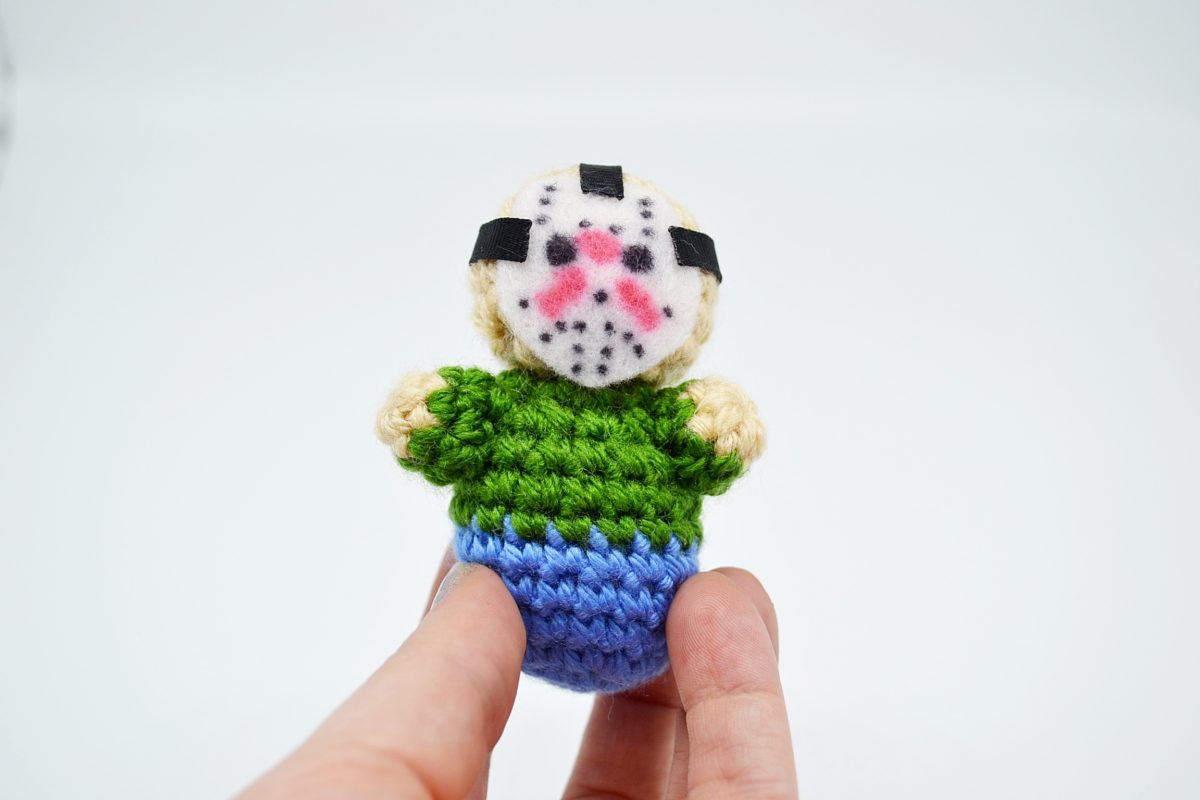
LIL JASON AMIGURUMI FREE CROCHET PATTERN
Inspired by Friday the 13th Part III
Pattern by Carly Arnold of UnicornHideout.com

Happy Friday the 13th! This might have been the first horror crochet I made, and it’s definitely one of the easiest.
Need a printable PDF without all the pesky ads coming up? We’ve got one available on Ravelry for $2. 
This post contains affiliate links, which means if you click a link and make a purchase we may receive a small commission. Thank you for supporting small makers!
SUPPLIES
3.75mm (F) hook
Polyfil
Yarn needle (bent tip works best)
White felt
Black and red fine tip permanent markers or paint pens
¼ inch black ribbon (8-10 inches)
A lighter, heat source, or fray check (for the ends of the ribbon)
Tacky glue
4 medium worsted weight yarn, you will need a small amount in the following colors:
- Light blue
- Green
- Light beige (skin tone)


GAUGE
4 rows of 4 sc across = 1 inch square
This amigurumi doll is worked in the round without joining each round. Use the color change method of your choice. The pieces are all made separately and sewn together using a yarn needle.
ABBREVIATIONS
st = stitch
sc = single crochet
inc = increase (work two sc in one st)
dec = decrease (2 single crochet together)
[…] = repeat instructions in brackets the indicated number of times
(…) = number of stitches in that row.
LET’S CROCHET!
BODY
Blue yarn.
Rnd 1. sc 6 in magic ring (6)
Rnd 2. inc in next 6 st. (12)
Rnd 3. [sc in next st, inc] 6 times (18)
Rnd 4-6. sc in each st around (18)
Color change to green.
Rnd 7-9. sc in each st around (18)
Rnd 10. [sc in next st, dec] around. (12)
Rnd 11. [dec] 6 times. (6)
Finish and stuff. Tail will not be used for sewing, so stuff tail inside body or weave in.
Note – if you find it difficult to stuff, pull out round 11 and try stuffing after round 10 and then finish round 11 while body is stuffed.
HEAD
Light beige yarn.
Rnd 1. sc 6 in magic ring (6)
Rnd 2. inc in next 6 st. (12)
Rnd 3. [sc in next st, inc] 6 times (18)
Rnd 4-6. sc in each st around (18)
Rnd 7. [sc in next st, dec] around. (12)
Row 8. [dec] 6 times (6)
Finish and stuff. Leave long tail for sewing.
Note – if you find it difficult to stuff, pull out round 8 and try stuffing after round 7 and then finish round 8 while body is stuffed.
Need a printable PDF without all these pesky ads? We’ve got one available on Ravelry for $2.
ARMS
Make 2.
Light beige yarn.
Rnd 1. sc 6 in magic ring. (6)
Color change to green.
Rnd 2. sc in each st around. (6)
Rnd 3. sc in each st around. (6)
Finish, tie off, and stuff. Leave a long tail for sewing.
ASSEMBLY
Assemble in this order for best results!*
Attach head to body.
Using a yarn needle, attach head to body at openings using your preferred method of sewing together amigurumi parts. Each opening will have six stitches and line up evenly. I prefer to use a method where you create a vertical stitch by stitching behind the post from right to left on each stitch.
Attach arms to body.
Position arms as desired on body and sew on using long tail from arm and a yarn needle. If it helps, you can use a stitch marker or small pin to hold the arms in place while you are working. I usually put them about one row below the top of the body/bottom of the head and a little to the front.
Mask
 Jason would not be complete without his signature mask. Cut an oval out of white felt just about the size of the head. Using permanent markers (or a paint pen) create the markings on the mask, using this simplified reference graphic. Place a small amount of tacky glue on the back of the mask and glue it directly on the front of the head. Cut the first piece of ribbon, measured to fit around the back of the head and overlap each side of the mask just slightly. Using a lighter or heat source, melt the ends of the ribbon a little so they don’t fray. You can also use fray check for this. Place a thin line of glue down the length of the ribbon and attach to head. While this ribbon is drying, cut another length of ribbon that will fit from the top of the mask (be sure it overlaps) to the first piece of ribbon on the back of the head. Treat the ends of the ribbon with heat or fray check as before. Glue on by placing a thin line of tacky glue the length of the ribbon.

We would love to see how your Lil Jason turns out! Share photos on Instagram with #unicornhideout or share on our Facebook page – @unicornhideout
Copyright 2020 Carly Arnold, UnicornHideout.com
*If you are new to amigurumi, assembly can be tough! Here are my favorite tutorials from other websites to help you through.
For attaching open pieces (like the head and body)
For attaching closed pieces (like the arms to the body)

PATTERN DISCLAIMER
If you sell products made from this pattern please credit the design to Carly Arnold of Unicorn Hideout, and provide a link to the website www.unicornhideout.com. If you wish to sell your own products made from this pattern, you are not permitted to use, in part or full, any descriptions or photos from this pattern. Photos from unicornhideout.com are not permitted for use on any website, social media or pattern roundup page. If you would like to share a photo and link to this pattern, please email me at unicornhideout@gmail.com for permission. Please do not sell, distribute, duplicate, or share these patterns or downloads in any printed or digital form, or claim patterns as your own original designs.
Related Post
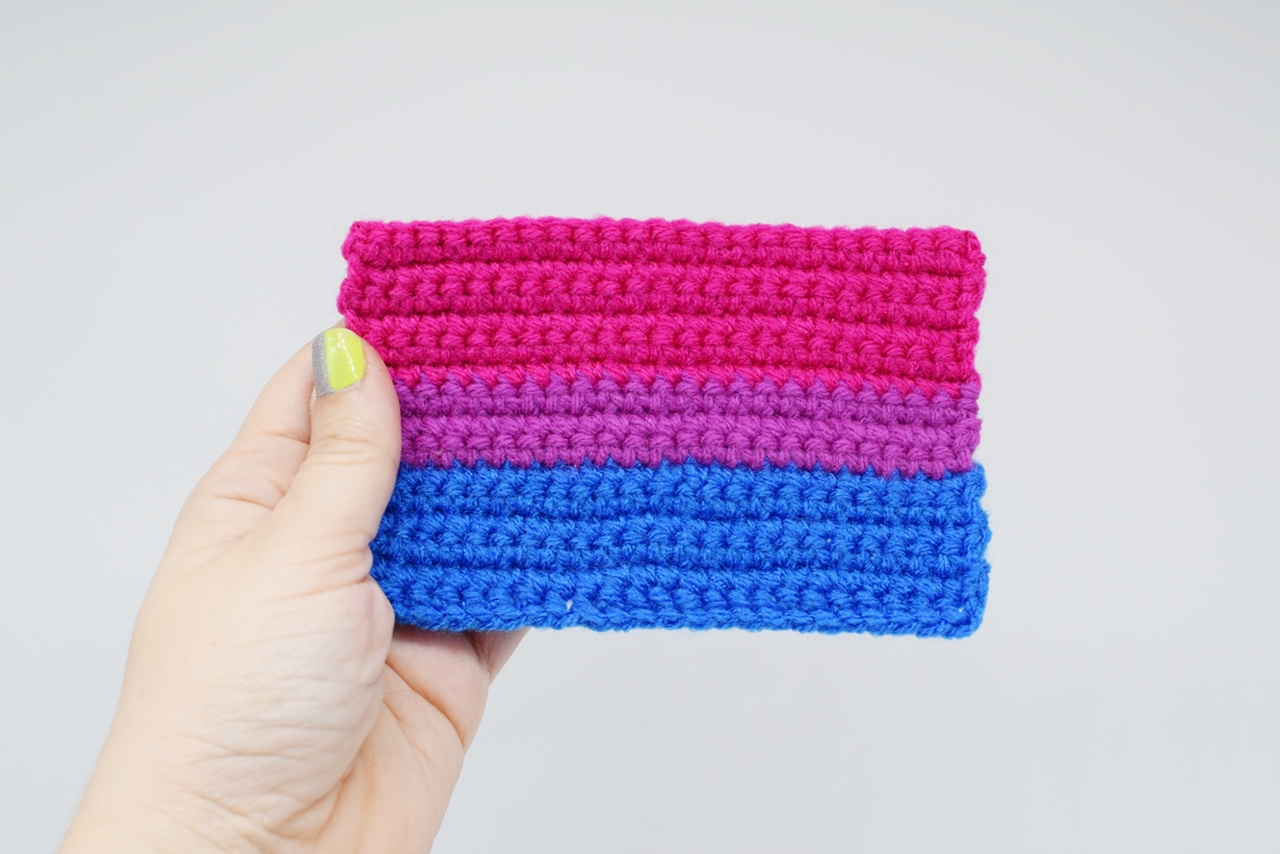
Bisexual Pride Flag Free Crochet Pattern
Mini Bisexual Pride Flag Free Crochet Pattern This Bisexual pride flag pattern is the ninth [...]
Asexual Pride Flag | Free Crochet Pattern
Mini Asexual Pride Flag Free Crochet Pattern This asexual pride flag pattern is the final [...]