DIY Human Organ Cooler | Free Printable Stencil
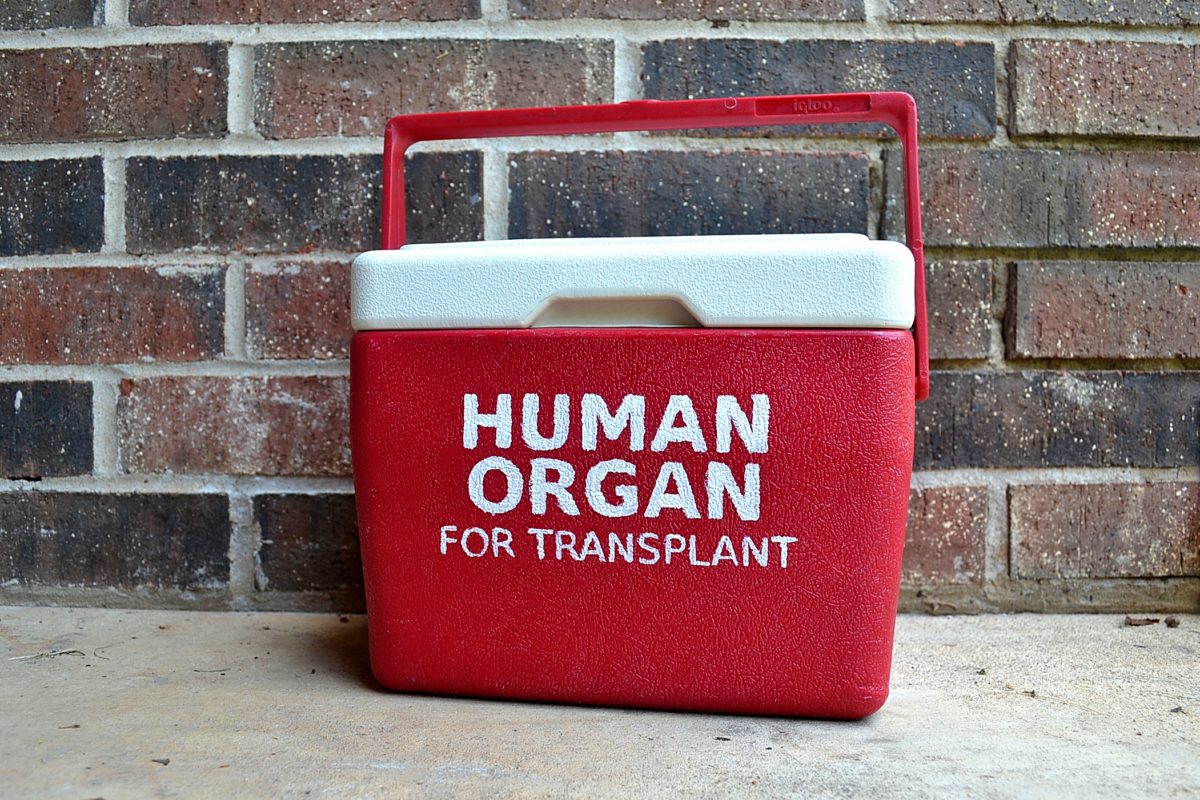

This DIY Human Organ Cooler will be a fun accessory to take to your next barbecue or picnic. It would also make a great addition to a cosplay or Halloween costume. We got the idea after buying this small 6-pack cooler for I think a quarter at a yard sale. When we took it to a party, it was pointed out it looked like a hospital organ cooler. We immediately got the idea to do it ourselves and decided to make it a DIY.
Disclaimer – limit use of cooler to snacks and drinks only. It is not intended for actual human organ transport.
This DIY human organ cooler includes a free printable stencil – download it here: Free printable stencil template.
This post contains affiliate links, which means if you click a link and make a purchase, we may receive a small commission at no cost to you. Thank you for your support!

Supplies:
- Free printable stencil template printed on cardstock.
- Small cooler (Here’s a great one available on Amazon.)
- X-acto knife and cutting mat OR digital cutting machine (I use the Brother ScanNCut)
- Double sided tape
- Ruler or measuring tape
- Painter’s tape
- White acrylic paint & paintbrush
Instructions:

1. Print the stencil template on cardstock.


2. Using the xacto knife and cutting mat, cut out the letters to create a stencil. Lay out a strip of double stick tape on your cutting mat. Use this to hold the insides of letters that you will need for letter (the O, A, R and P’s).
You can also use a digital cutting machine (I use the Brother ScanNCut) to cut out your stencil, which would be a lot easier and quicker. Just make sure you still keep the insides of the letters.


3. Trim around your stencil to make it smaller, but make sure to leave room to tape it on. Measure your cooler to find the center. Tape on the stencil using painter’s tape.


4. Trim the extra double stick tape from the outside of the inside pieces of the letters, making them into a sticker. Tape them onto the correct spots on the cooler. I had trouble with this since my cooler was textured. If you have trouble getting them to stay in place, just be careful as you’re painting later. You also may have to use a new piece of tape.

5. If needed, use more double stick tape to tape down pieces of the stencil that seem like they may be loose. I did this on the G and the U. You can see in the photo above the U sticks out a little.

6. Paint your stencil with at least two coats of white acrylic paint. If you don’t want to wait in between coats, use a blow dryer to dry each coat. Be careful that you don’t dislodge the insides of letters that are taped on. Once completely dry, remove the stencil and your DIY human organ cooler is done!
Connect with us on social media and show us your cooler! @unicornhideout on Instagram and Facebook.
Need more DIY ideas? Click here!


Related Post

First Time Camping Video
My first time camping happened in April. Jamie insisted it would be a good trip [...]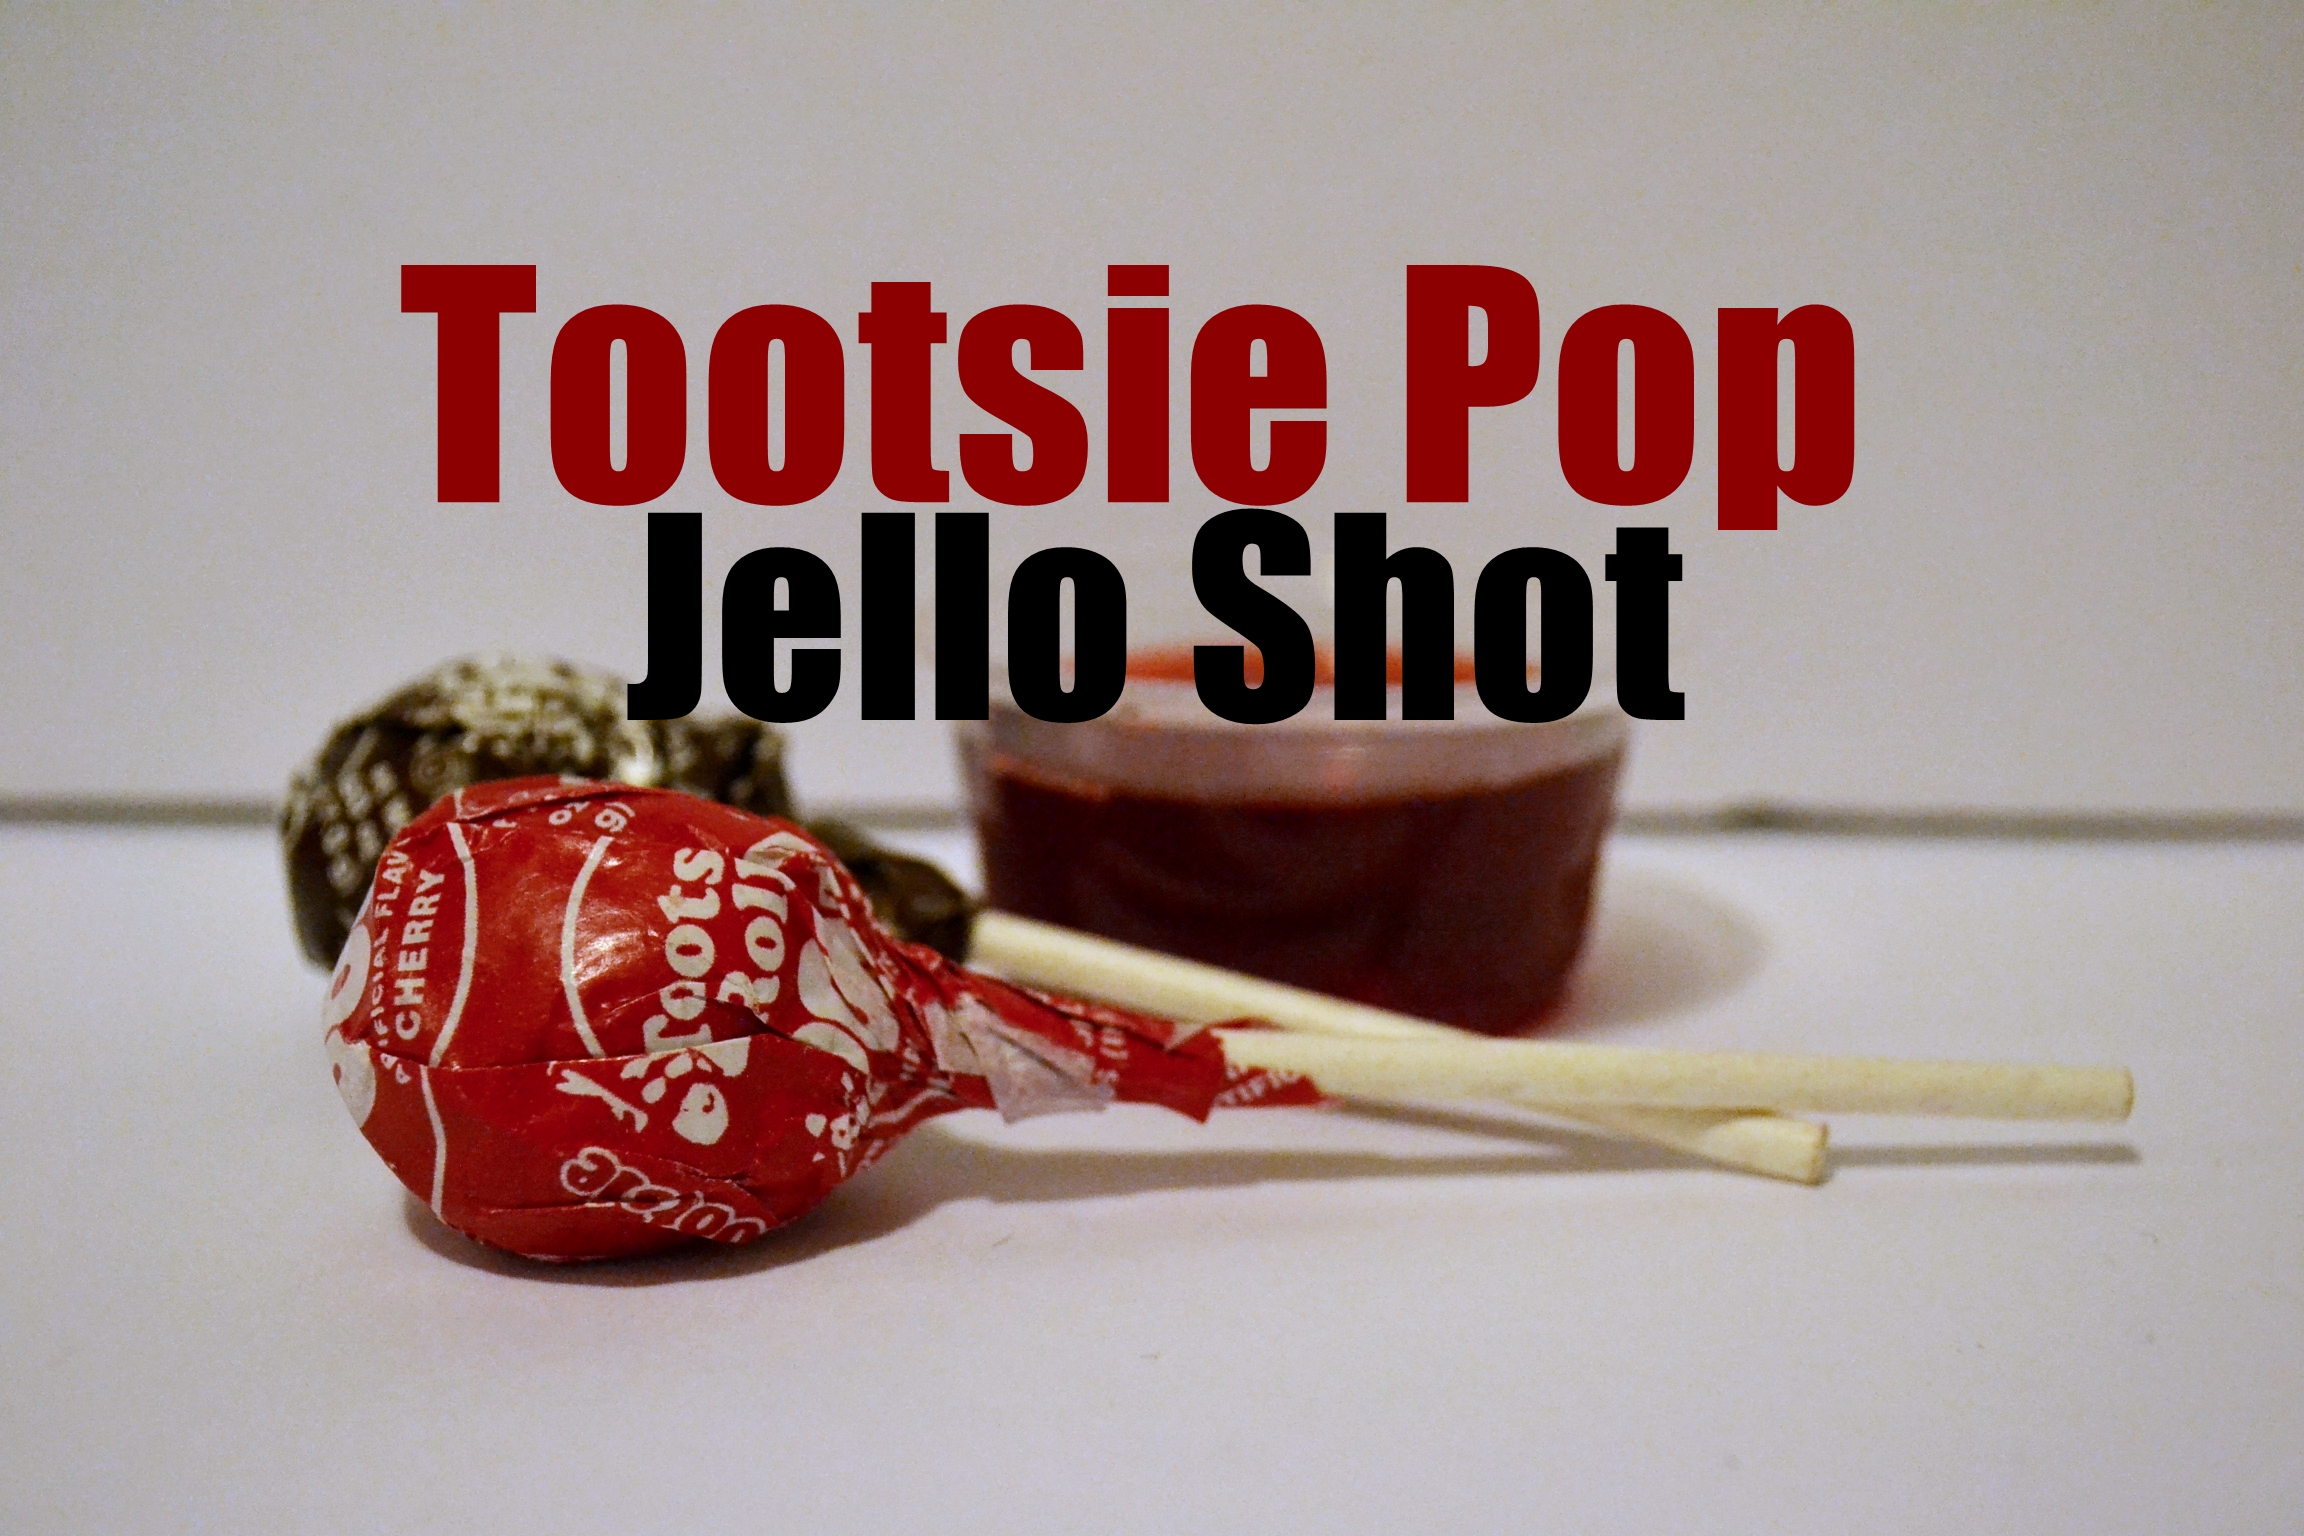
Tootsie Pop Jello Shot Recipe
Tootsie Pop Jello Shot Recipe. Choose your flavor – we did strawberry, but it could [...]