Easy Zombie Head Prop Painting Tutorial

Use this simple and easy zombie head prop painting tutorial to make your very own zombie head. Great for a Halloween decoration, as a prop for a Halloween costume or every day cosplay. We used ours as porch decor with our DIY human spine.
Last year around this time, Jamie came home from the store with a bunch of Halloween decorations and two of these plain styrofoam zombie heads. She said, “I thought we could paint them together!” I was pretty terrified to try and paint anything because I had never done anything like that. But with her encouragement I finally painted mine and it turned out so much better than I could have expected!
I used a photo of a Walking Dead zombie as a reference. I gouged out an eye because I didn’t want to try and match two eyes. Who can paint an eyeball anyway? Jamie can actually, and Tiffany, but I ended up just leaving it white to make it as simple as possible. And then I thought, better just gouge out more of the face because surely I can paint something to look gory more easily than I can paint it to look realistic. I think that was the right choice.
So grab your pumpkin beer and paintbrush and let’s get to it.
This post contains affiliate links, which means if you click a link and make a purchase, we may receive a small commission at no additional cost to you. Thank you for supporting this blog!
What You’ll Need:
- Styrofoam zombie head (available on Amazon)
- Knife or x-acto knife (for cutting styrofoam)
- Acrylic paints*
- light beige or green
- tan or light brown
- red or dark red
- black
- Paintbrushes
*Some paints will eat through styrofoam, so we recommend acrylic. Also it’s cheap.
Instructions:

Step One
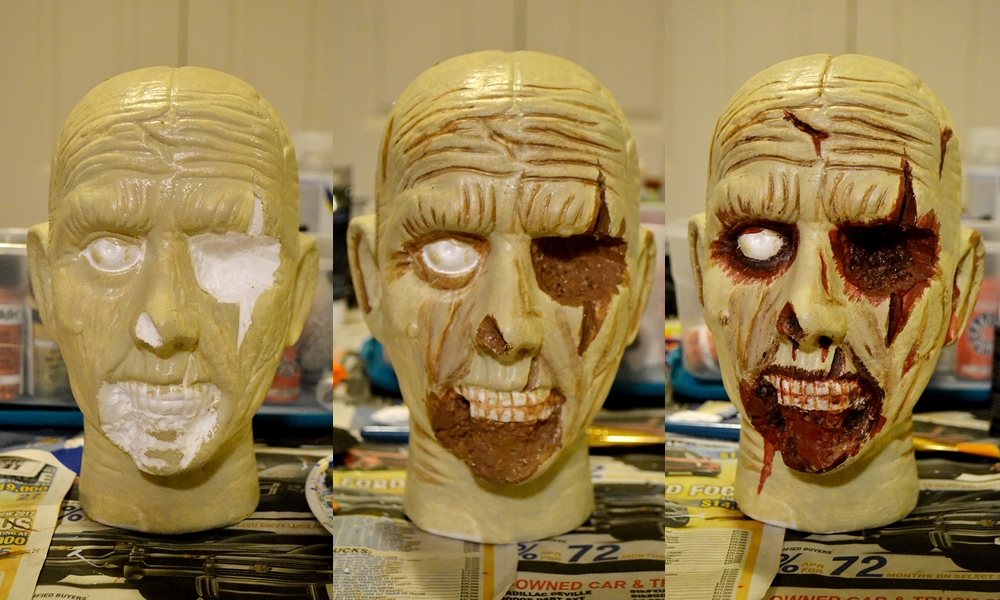
Above is the styrofoam head we used in its unpainted form. They are available on Amazon – get yours here before they sell out!
First things first – cut out some ‘wounds.’ Using an x-acto knife or some other knife, cut out some injuries onto your head. I definitely recommend gouging out an eye, I think it looks cool. I also included a cut above and below the eye socket. Then I did a little bit on the nose, a cut on the top lip, the bottom jaw and the top of the back of the head (see later photos). Do as much or as little as you want. I think painting the gore is easier than the rest, so do a whole side of the face if you want or you could take off an ear or the whole nose. If you want to use mine as a guide, the picture below pretty clearly shows where the cut outs are.

Step Two
Use your lightest color (try a light beige or olive green) and paint everything except the cut out portions, the eyeball and the teeth. You don’t need to paint the bottom either – you will just paint that red later. You can do two coats if you want a more even base but I just did one mostly because I’m lazy. Don’t forget the back of the head!

Step Three
Switch to a tan or light brown color. Maybe not too dark but you could try it. Like I said, I am a beginner so change things up if you’d like. This color will be used to create shadows and also as a base coat in our gory bits. Paint a solid base coat in all of your cut out spots. Then paint in all of the wrinkly bits around the head as pictured. Also paint around the eye, in the ears and between the teeth. Don’t forget the back of the head! I didn’t paint every wrinkle on the back of the head because I knew it wouldn’t be showing as much and again – I’m lazy.


Step Four
With red, paint all of the cut out gory spots and ‘cuts’. There are some ‘cuts’ on the zombie head as purchased, so use those as well. The red paint is meant to look like blood, so paint it anywhere there would be blood. I painted blood coming out of the ears and nose, all around the eye and on/around the teeth. You could also do some blood splatter. You can probably find a tutorial for how to do a splatter effect with a paint brush on YouTube. I never seen to be able to do it very well. Also paint the very bottom (the part hidden when it’s sitting) red. I left it smooth but you could rough it up before you paint it for a ripped-off-head look. If it will be displayed sitting on a shelf, you could skip this step.

Step Five
The final step is crucial but nerve wracking – using black. I was worried I would use too much and all my color layering would be ruined. So just go a little at a time if you’re worried too. Try and put black on and around the ‘blood’ in some places to create darker blood and also to create more shadows. I put black mostly on the parts that would have the most shadow, so the deepest holes or parts farthest away – the eye hole, the deepest cuts on the jaw and in the nose. I added some in some of the other cuts also and around the mouth. The black parts are easier to see in the later photos.
If you want, as a last step, you could paint the eye white or another color or paint on a detailed eyeball if you are a skilled painter. I just left it with the original white of the styrofoam. My head was going to be used as a prop so it wouldn’t really be seen close up and I wasn’t worried about it. We added our DIY human spine, which is made with paper towel tubes and plastic straws.
To hang your zombie head, attached one of these hooks into the top of the head and secure with a little regular glue. We used those hooks to hang our floating ghost head props (also styrofoam heads) outside last year and they worked great.
Connect with us on social media and show us what you made! @unicornhideout on Instagram and Facebook.
Need more DIY ideas? Click here!


Add a spine – DIY here!
Related Post
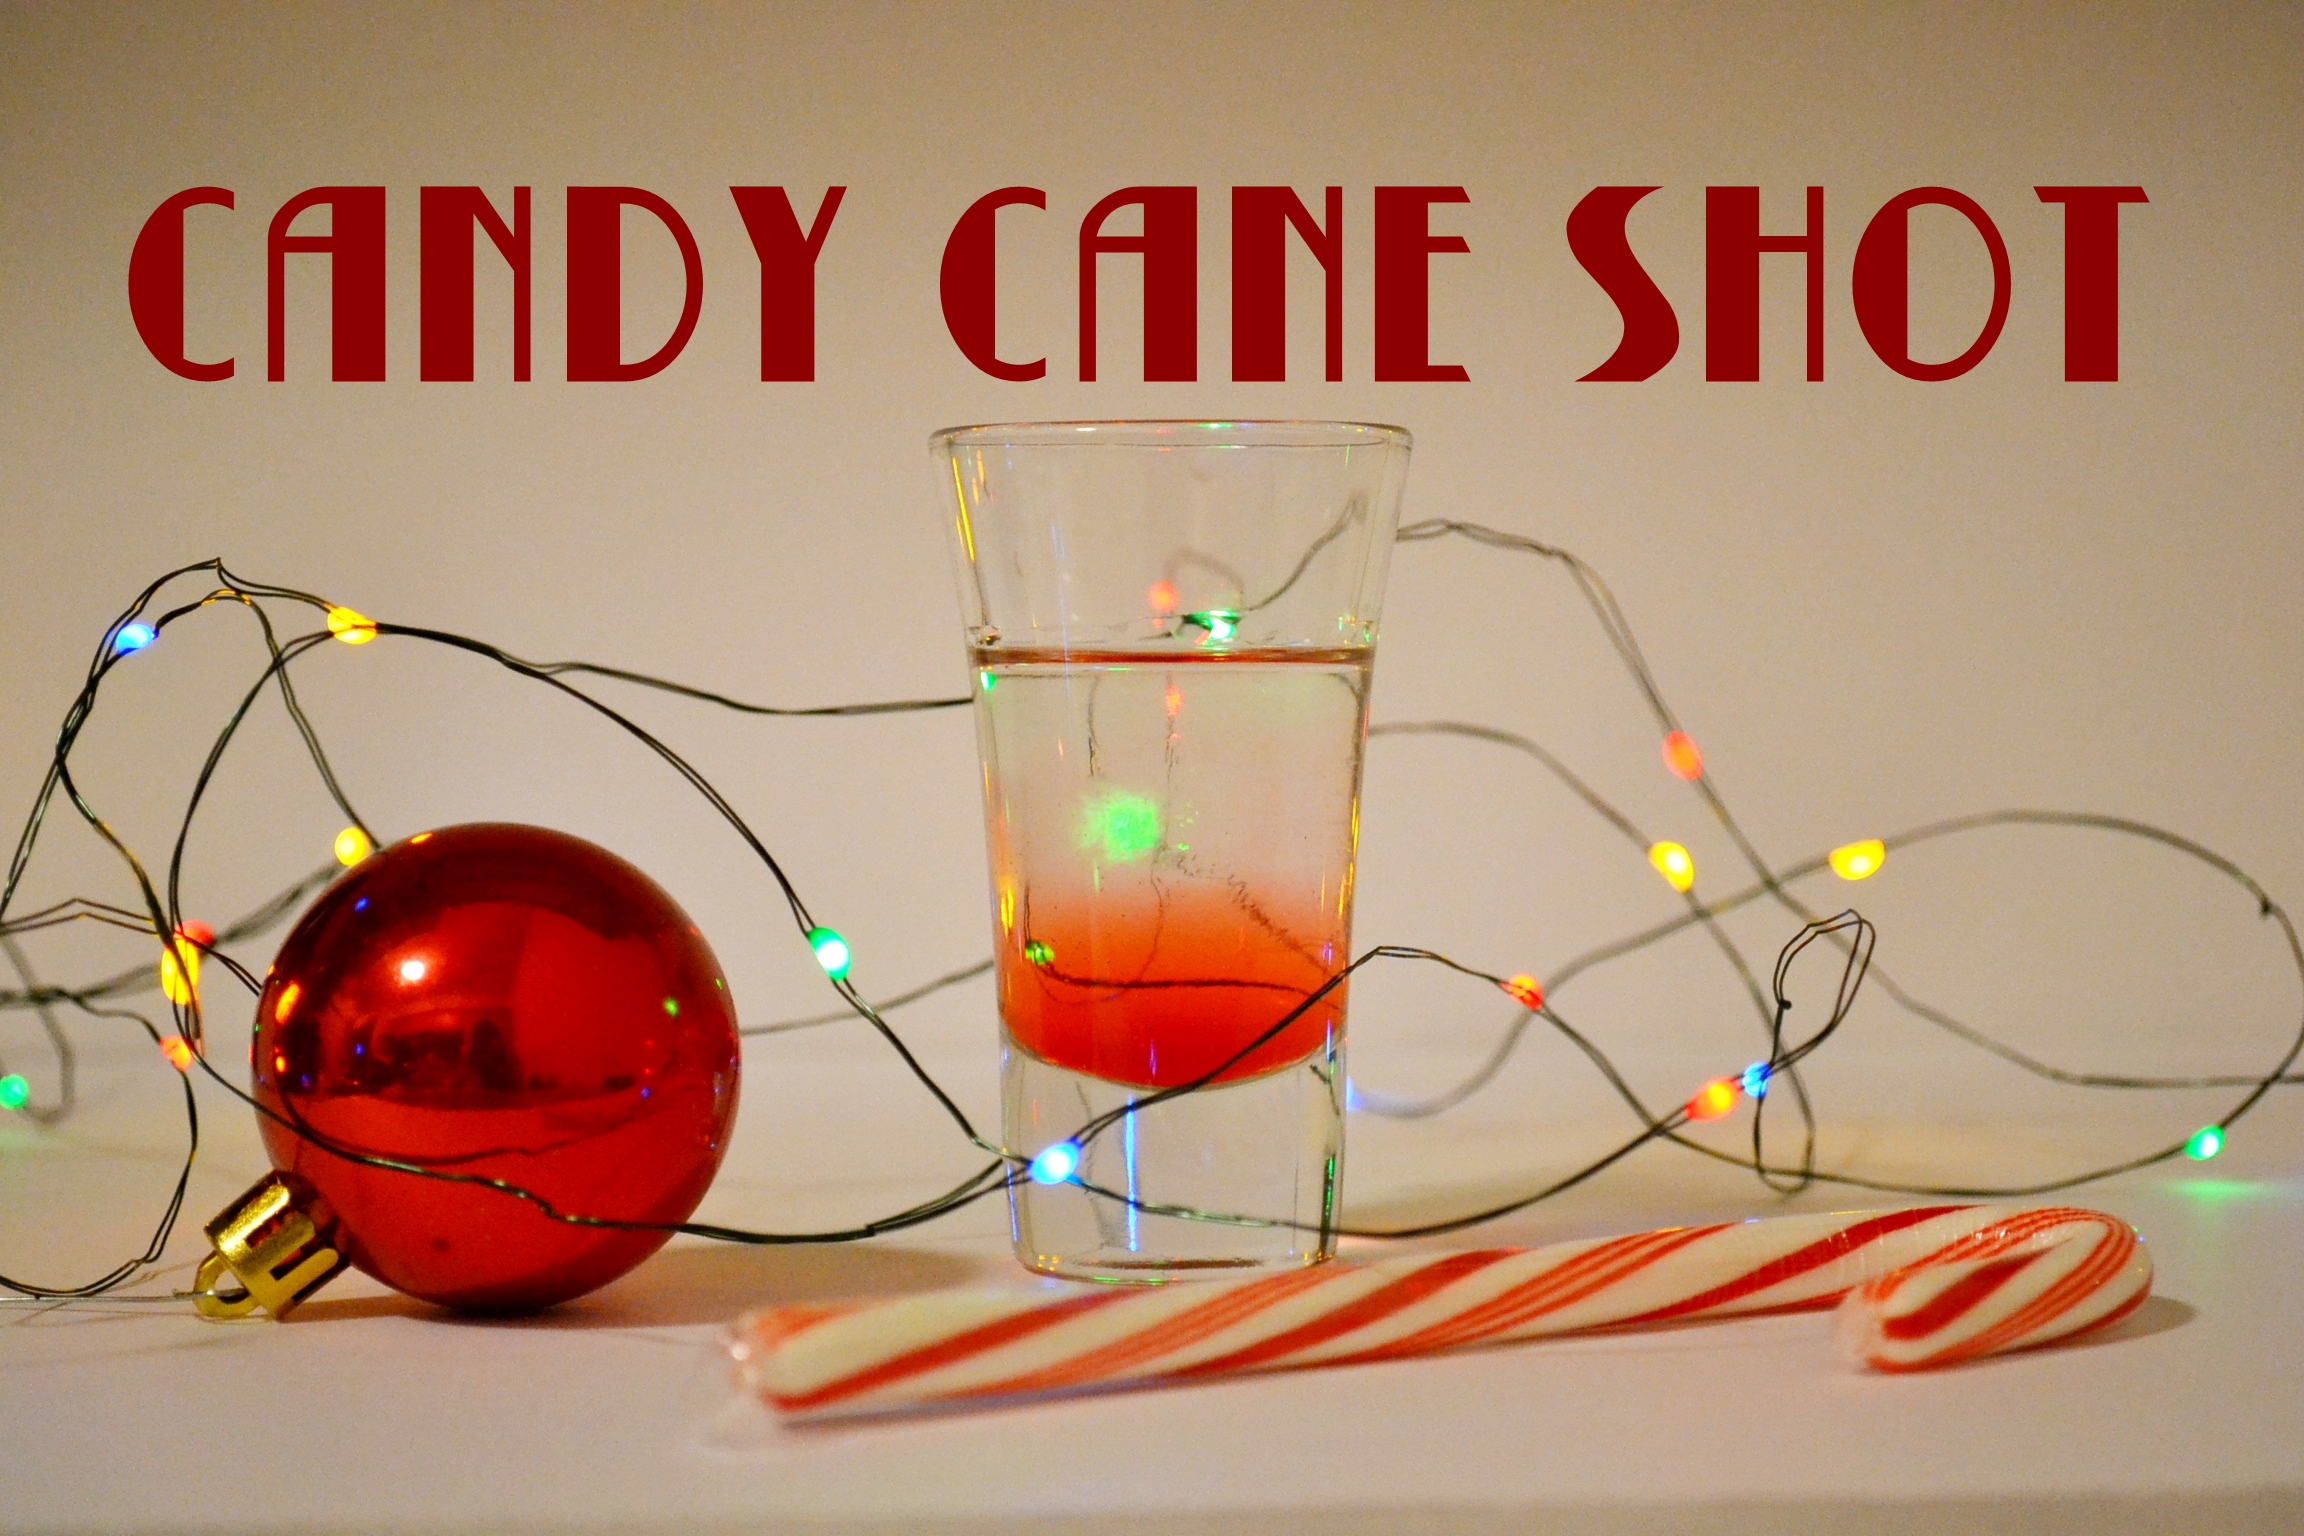
Candy Cane Shot – Twelve Shots of Christmas Day Four
Candy Cane shot is the fourth of our Twelve Shots of Christmas! Jamie and I [...]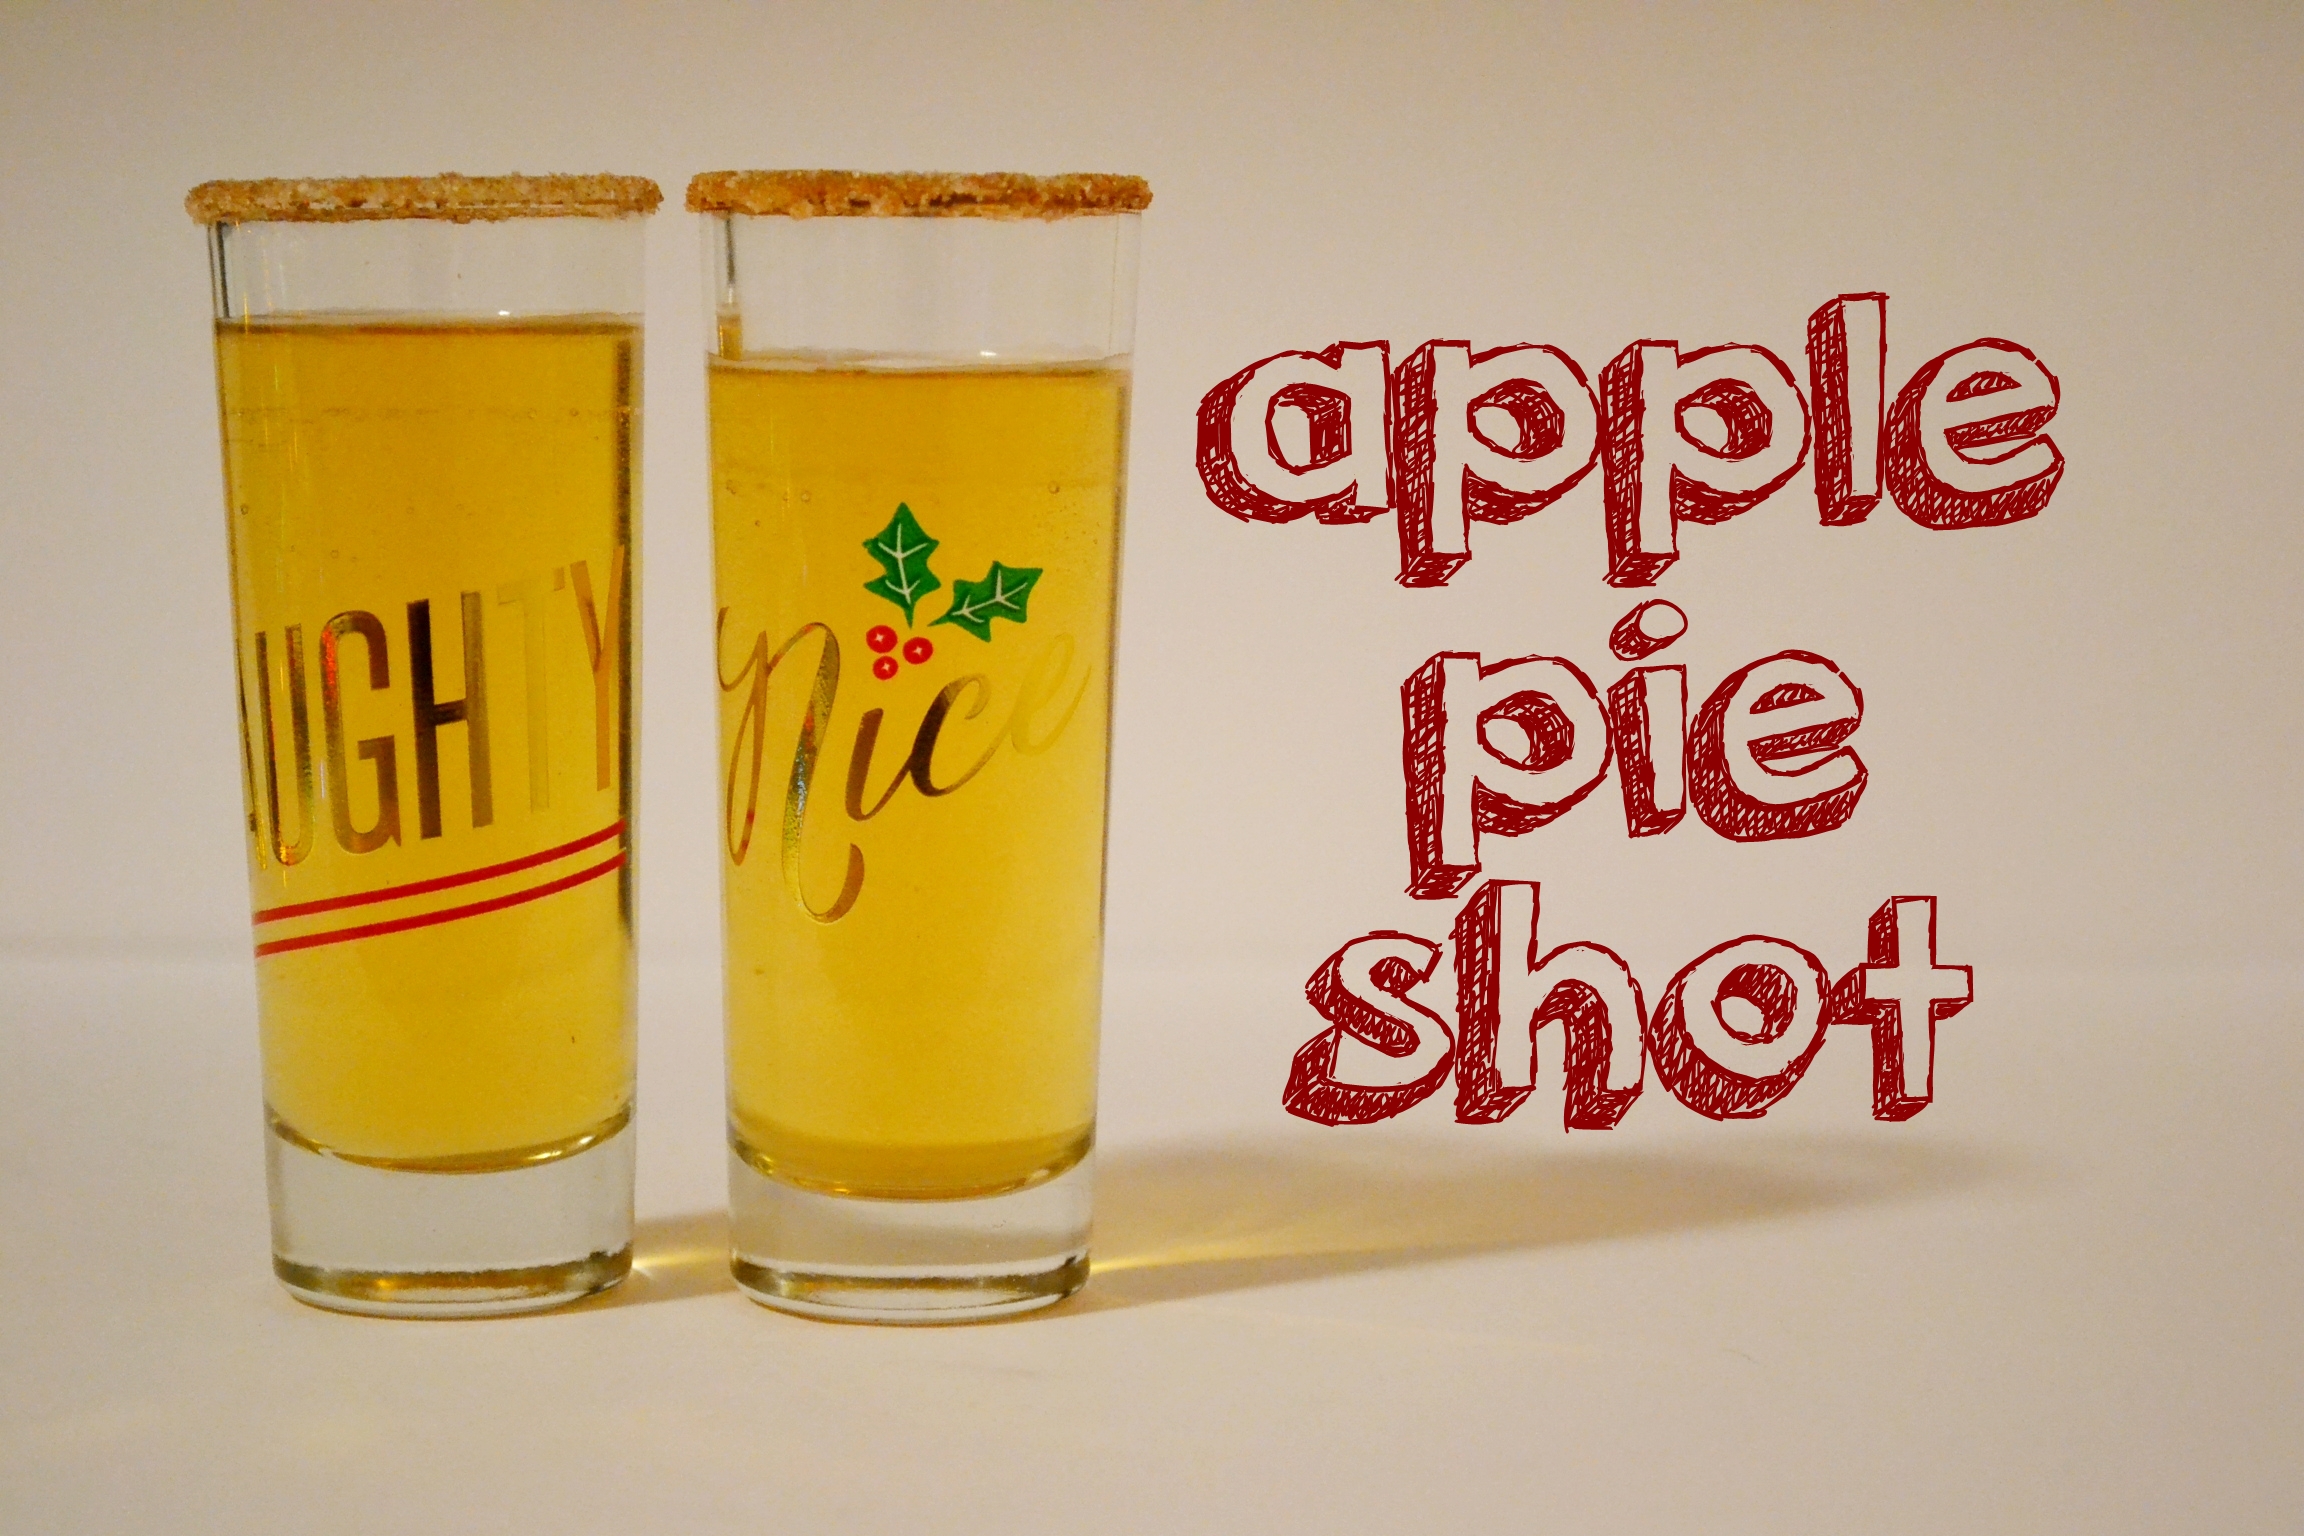
Apple Pie Shot – Twelve Shots of Christmas Day One
Apple Pie shot is the first of our Twelve Shots of Christmas! Jamie and I [...]