Alcohol Advent Calendar DIY II – Twelve Shots of Christmas

Last year we made not one but two alcohol advent calendars. I am very excited to share this year the one that Jamie made, which was much more interesting and technical. Each ornament spins so you can turn it around on that day and see the recipe. So here is our SECOND alcohol advent calendar DIY for your enjoyment. Make a fun Christmas tree to count down the twelve days of Christmas and have a unique Christmas themed shot each day.
This post contains affiliate links, which means if you click a link and make a purchase, we may receive a small commission at no additional cost to you. Thank you for supporting this weird blog!


Note: This alcohol-related DIY for for drinking aged adults only. Please drink (and craft) responsibly.
To make the shots themselves, it isn’t necessary to buy or have a ton of alcohol already available and you shouldn’t have much left over. When coming up with recipes for the shots, we made it possible to make them using just tiny single shot bottles of alcohol (we call them airplane shooters) and mixers you don’t have to buy in extreme bulk. We bought everything we needed, including the alcohol, for right around $20. Each recipe makes two shots.

There are two printables available below – one is a shopping list for the shots and one is the list of recipes for the calendar. Of course, you can also just follow along with the shots without making the advent calendar. Check out Twelve Shots of Christmas for regular links to recipes.
*Get your own Naughty & Nice shot glasses.
Click below to download the free printables
Twelve Shots of Christmas Advent Calendar Printable
Twelve Shots of Christmas Shopping List
Alcohol Advent Calendar DIY Supplies Needed
- Poster-sized foam board (pro tip – dollar store)
- 6-7 clear round plastic craft ornaments (must come apart into two halves)
- Fun cardstock (one large sheet should be plenty)
- Plain white cardstock (1 sheet, 8.5×11, for printing the printable)
- Approximately 36″ of wire (link coming soon)
- Ribbon, 1/4 inch wide cut into 12 1 inch strips
- Acrylic paint & brushes
- Yard Stick
- Pencil
- Box cutter or sharp knife
- Glue gun, super glue & glue stick
- Painter’s tape (optional)
- Large safety pin, needle nose pliers and a lighter (preferably the long kind that you use to light a barbecue grill)
- Scissors
- X-acto knife
- Shot recipe printable
And the alcohol advent calendar DIY begins here.

One – trace your tree. Line up your ornaments on your foam board, and using a yard stick, measure and sketch a large triangle onto your foam board. The top of the triangle should be in the middle of your board (this one was at 10″). The bottom of the triangle will probably be 6-7″ from the bottom of the board. Decide on your sizing based on the placement of your ornaments. The tree trunk can be as wide as you want, this one is around 4″ wide, measure 2″ from center on either side.


Two – Cut it out. Using the yard stick as your guide, cut out your tree with a box cutter or sharp knife. DO NOT USE SCISSORS, cutting with scissors will cause the foam board to wrinkle.

Three – Tree Trunk. If your tree trunk is too long, now’s the time to cut it. Jamie left hers long.

Four: Mark placement of your ornaments. Place the ornaments where you would like them on the foam board, then press down gently to make an indention. This will be your cutting guide in the next step.

Five: Cut holes for the ornaments. Using an x-acto knife, carefully cut out the circles now marked on your foamboard tree. Be sure to place a cutting mat under your work surface or if you’re lazy like us, use the carpet. The cutout circles can be discarded or kept for another project – you won’t need them again here.

Six: Double check that everything fits. Place your ornament halves into the holes and make sure they fit okay, trimming if needed. Important Note: The ornament halves will probably be two slightly different sizes because of the way they snap together, so some holes will be slightly bigger than others. This is correct, but make sure you match up your six larger ornament sides with the six slightly larger holes before you do too much trimming or the smaller ornaments will not fit snugly. When this is finished, we advise you take the ornaments out and mark them by number with painter’s tape. We didn’t do this but it would have made it way easier.

Seven: Paint. Paint your tree your desired colors/colors. You will most likely need multiple coats. Try not to make each coat too thick or the board will start to curl. You could also cover it in scrapbook paper, leave it white, or paint on lights or garland or other decor.


Eight: Poke Holes In Your Ornaments. Be very careful during this step. Use pliers to hold a large safety pin (or a large needle if you have one.) over a flame to heat it until it is red. While hot, poke a hole into the top of each ornament half. Move the pin in a small circle before it cools to make the hole large enough for your wire to go through comfortably. Our wire was fairly small. Reheat the pin between each ornaments. Jamie used a regular lighter, but using a candle or a long lighter for a grill is what we recommend. A normal lighter isn’t meant to stay lit that long and gets really hot.

Nine. Cut out ornament insides. Measure all the round glasses in your kitchen and find one that is around 2.5″ wide. This will be the template for your ornaments. If your ornaments are smaller than 2.5″ your printed shot recipes won’t fit on the backs of the ornaments – they are 2.5″ wide circles. Also if your circles are too big, they won’t rotate inside the ornaments. Trace around the glass to make circles on your fun cardstock and cut out. Test your first one by making sure it fits inside an ornament half. You will need twelve circles total. While you’re cutting stuff, cut out the circles on your recipe printable.

Ten: Ornament inside assembly. This is where things get tricky. I don’t have a lot of photos because it was really difficult and honestly you may find a better way to assemble this than we did. The goal is to get the two circles (the printable and the other) glued together with the wire glued inside and sticking out of the top. To do this, we used glue stick on the back of the printable circle, and a small line of super glue on other circle (see image). I’m not sure why we didn’t use hot glue to secure the wire. Thinking back, that would probably be a much better option. I would still use the glue stick for the bulk of the gluing though – you don’t want it to be too bulky or it may not rotate.
Optional Step – this is the time to add numbers to the front of your ornament insides if you would like. We used these cool puffy stickers I had been holding on to from an old A Beautiful Mess Messy Box I splurged on.

Eleven: Full ornament assembly. This step is also tricky and I don’t have a photo. Once the ornament inside is completely dry, insert the wire from the inside of the ornament up through the top. The wire will be sticking out of the top of the plastic ornament half. Using needle nose pliers, twist the very top of the wire into a small circle. Make sure the inside has room to move up and down and rotate. It doesn’t matter what this twisted wire looks like because it will be covered with ribbon (see above), but you do want to make sure the circle is not wider than the width of your ribbon. Next put a dot of hot glue on one end of a ribbon piece, lay the metal circle into the hot glue, and fold the rest of the ribbon over to cover it. Be careful not to burn yourself with the hot glue.

Twelve: Glue the ornaments to the tree. Put a line of super glue around the edge of each ornament and insert it into the tree. Be sure to hold it for 15-20 seconds until it is set. You could also use hot glue for this step as well, but it may leave excess glue. As you can see by the photo, we did not assemble our ornaments completely before we glued in the ornaments. Definitely don’t do this.
And your alcohol advent calendar DIY is complete! You can glue a ribbon on the back to hang it or just prop it up on a table.
You know have your very own Twelve Shots of Christmas Advent Calendar. Be sure to download and print the shopping list so you can grab all the ingredients to make your shots each day.
Enjoy!
Connect with us on social media and show us what you made! @unicornhideout on Instagram and Facebook.
Need more holiday ideas? Click here!

Related Post
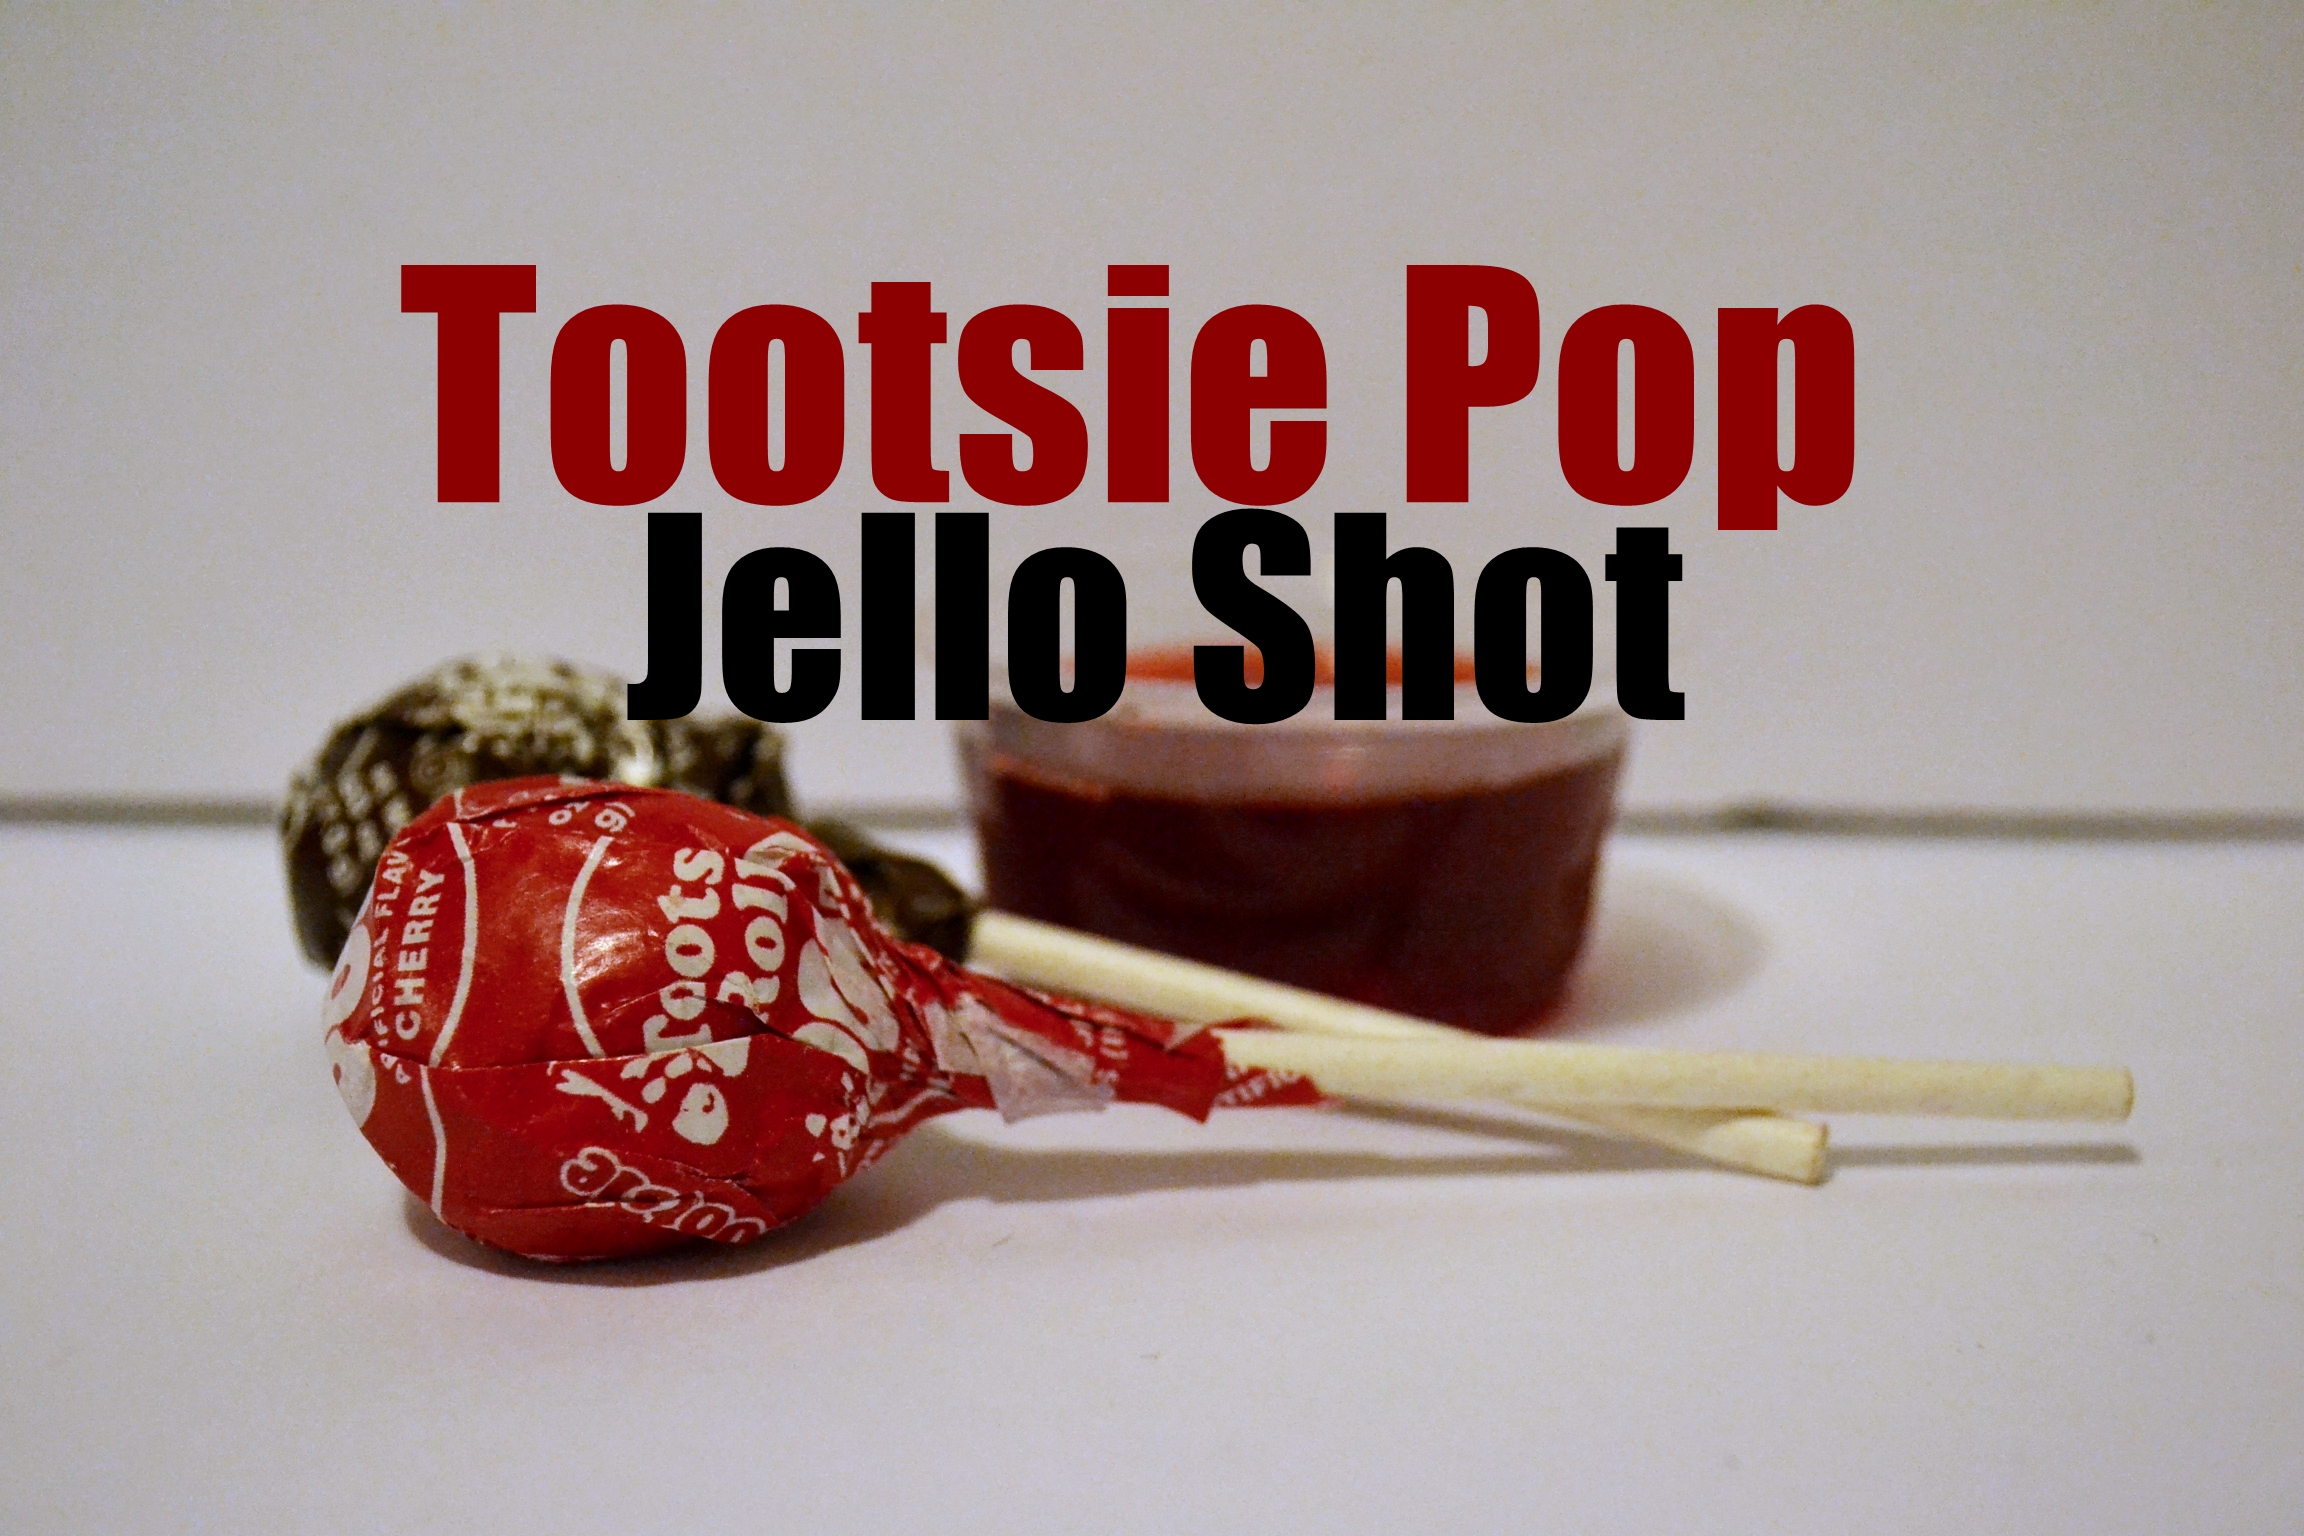
Tootsie Pop Jello Shot Recipe
Tootsie Pop Jello Shot Recipe. Choose your flavor – we did strawberry, but it could [...]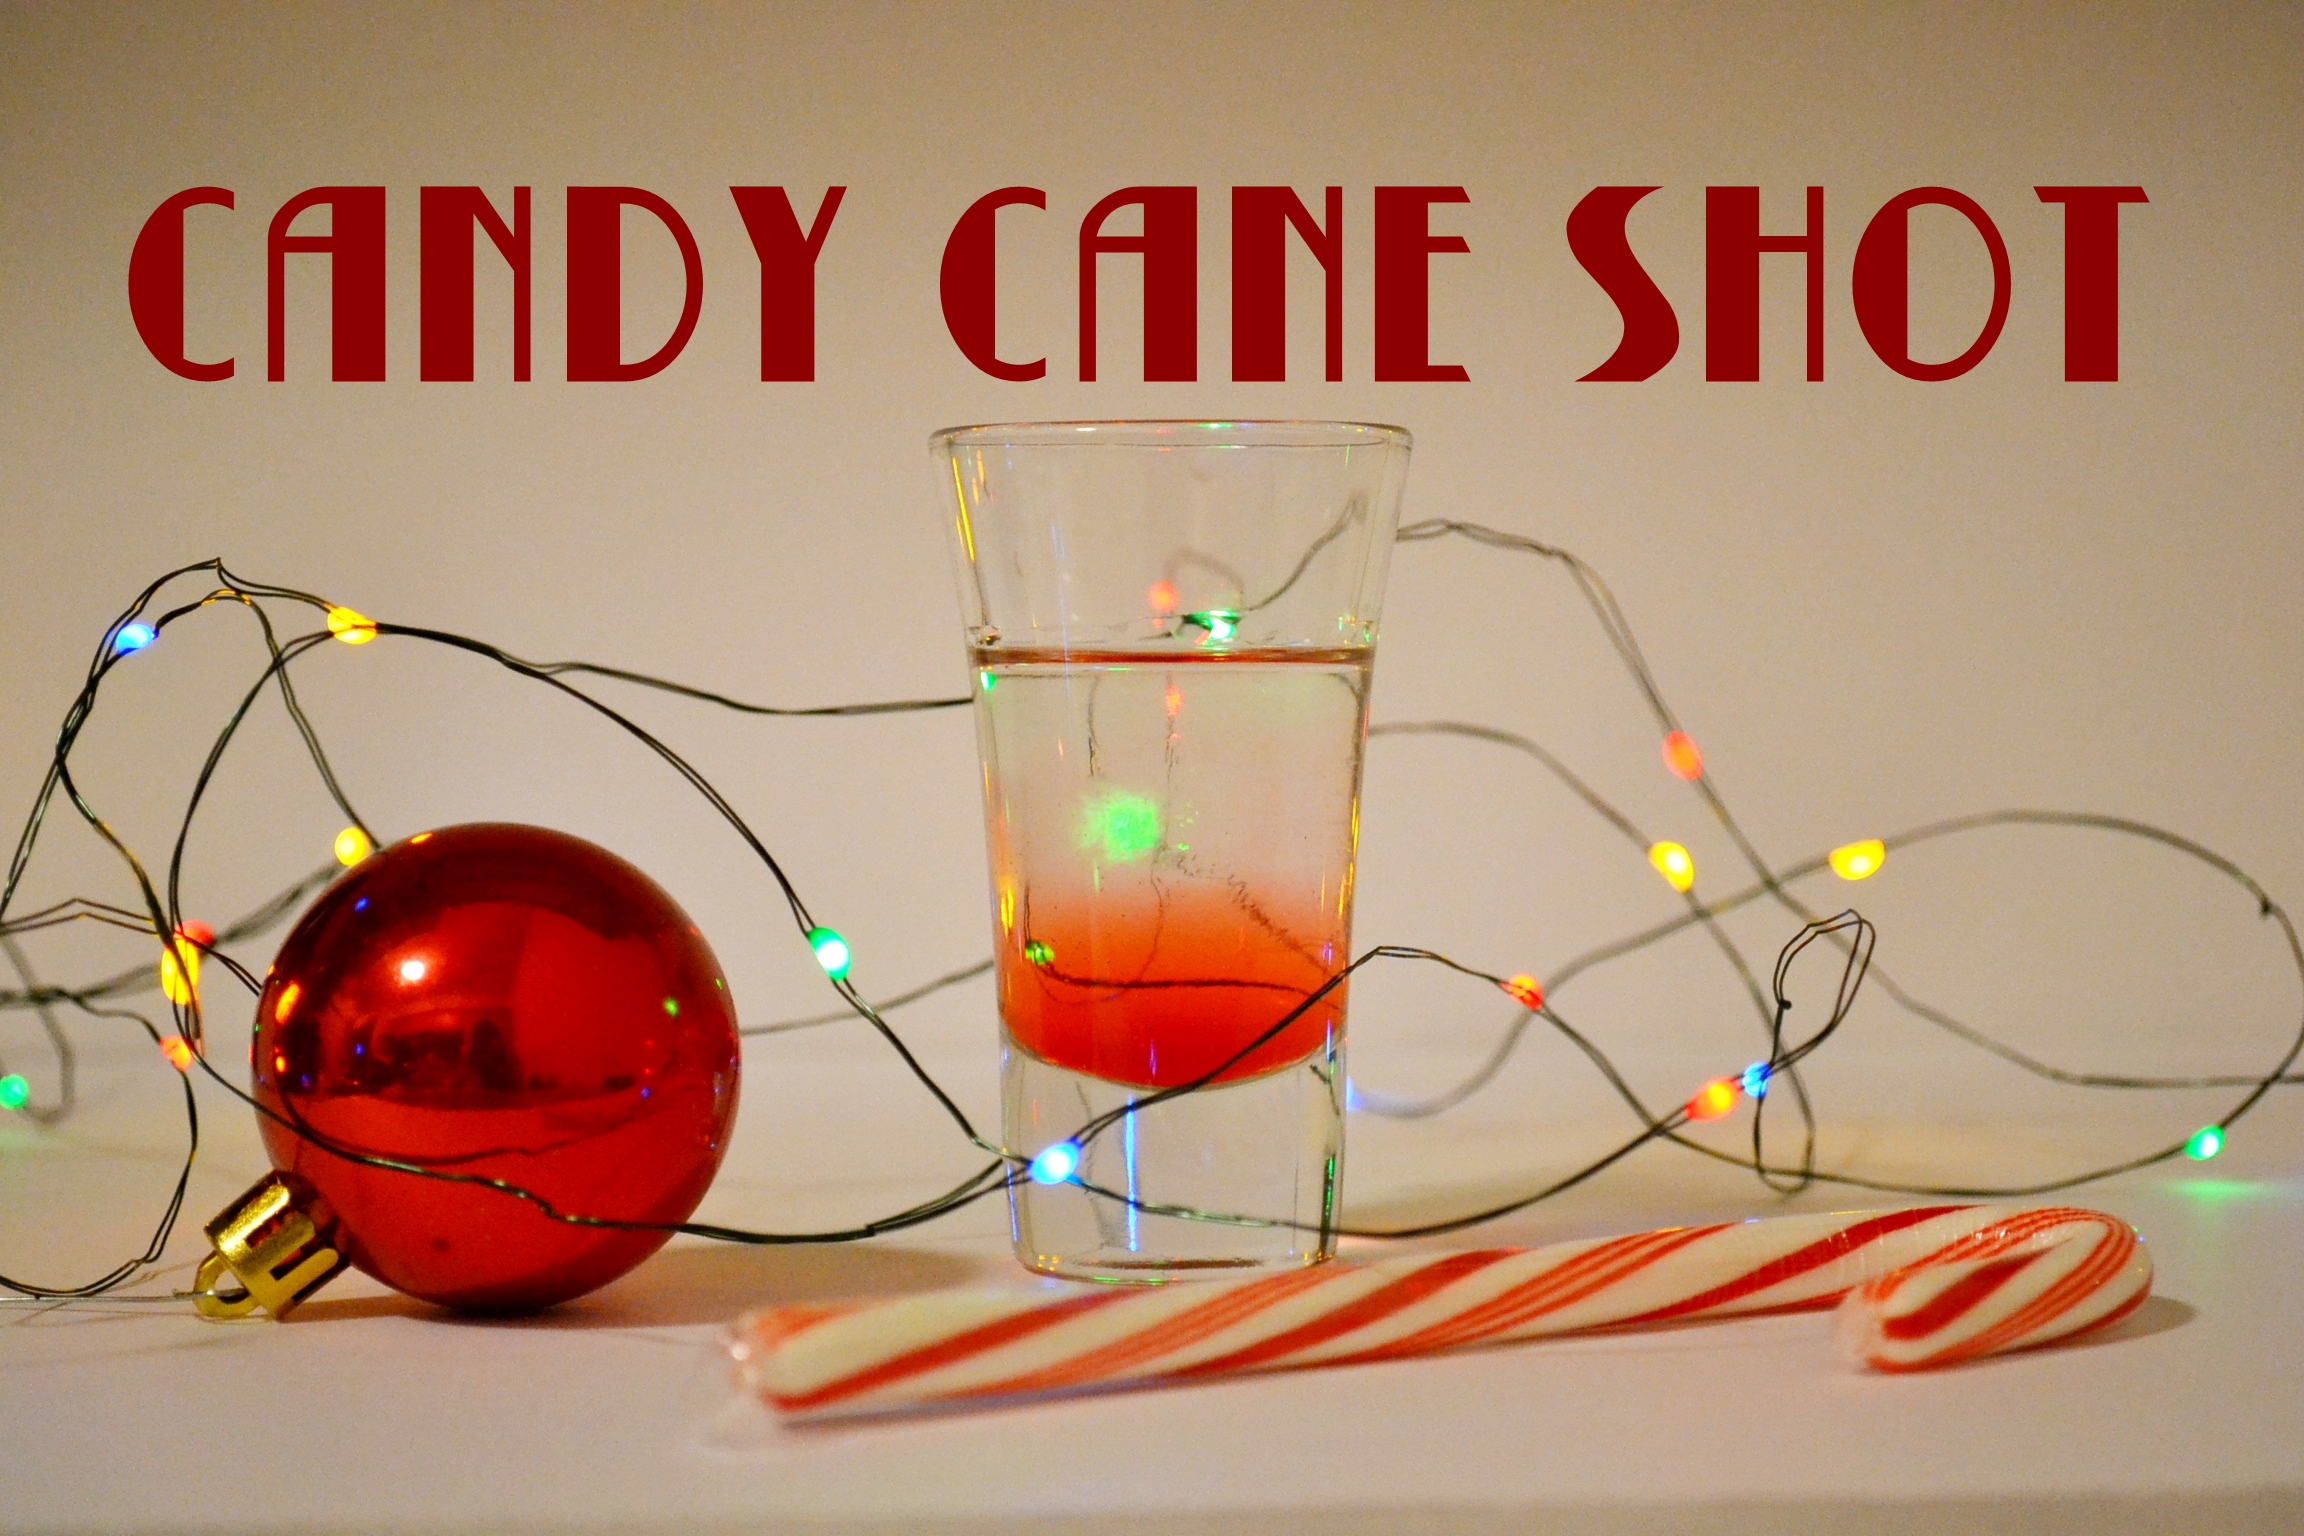
Candy Cane Shot – Twelve Shots of Christmas Day Four
Candy Cane shot is the fourth of our Twelve Shots of Christmas! Jamie and I [...]