Alcohol Advent Calendar DIY – Twelve Shots of Christmas Tree
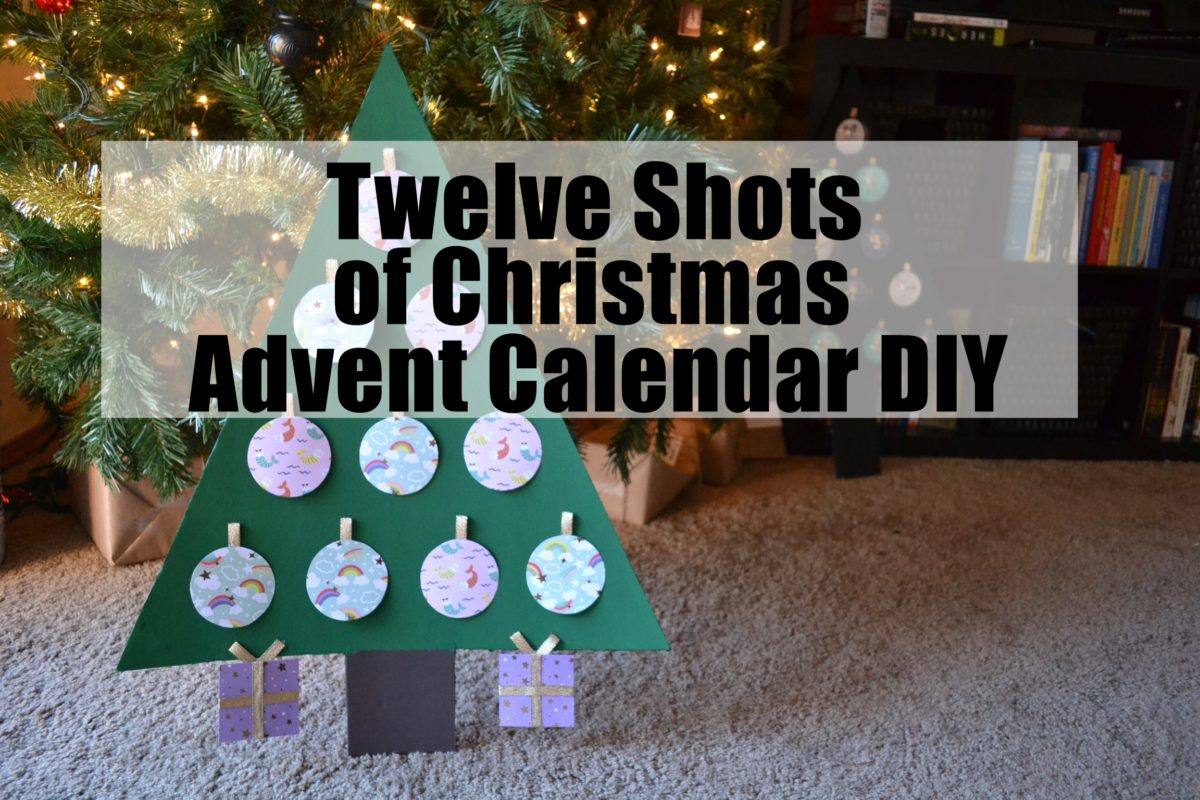
Alcohol advent calendar DIY for your enjoyment. Make a fun Christmas tree to count down the twelve days of Christmas and have a unique Christmas themed shot each day.
This post contains affiliate links, which means if you click a link and make a purchase, we may receive a small commission at no additional cost to you. Thank you for supporting this weird blog!
Note: This alcohol-related DIY for for drinking aged adults only. Please drink (and craft) responsibly.
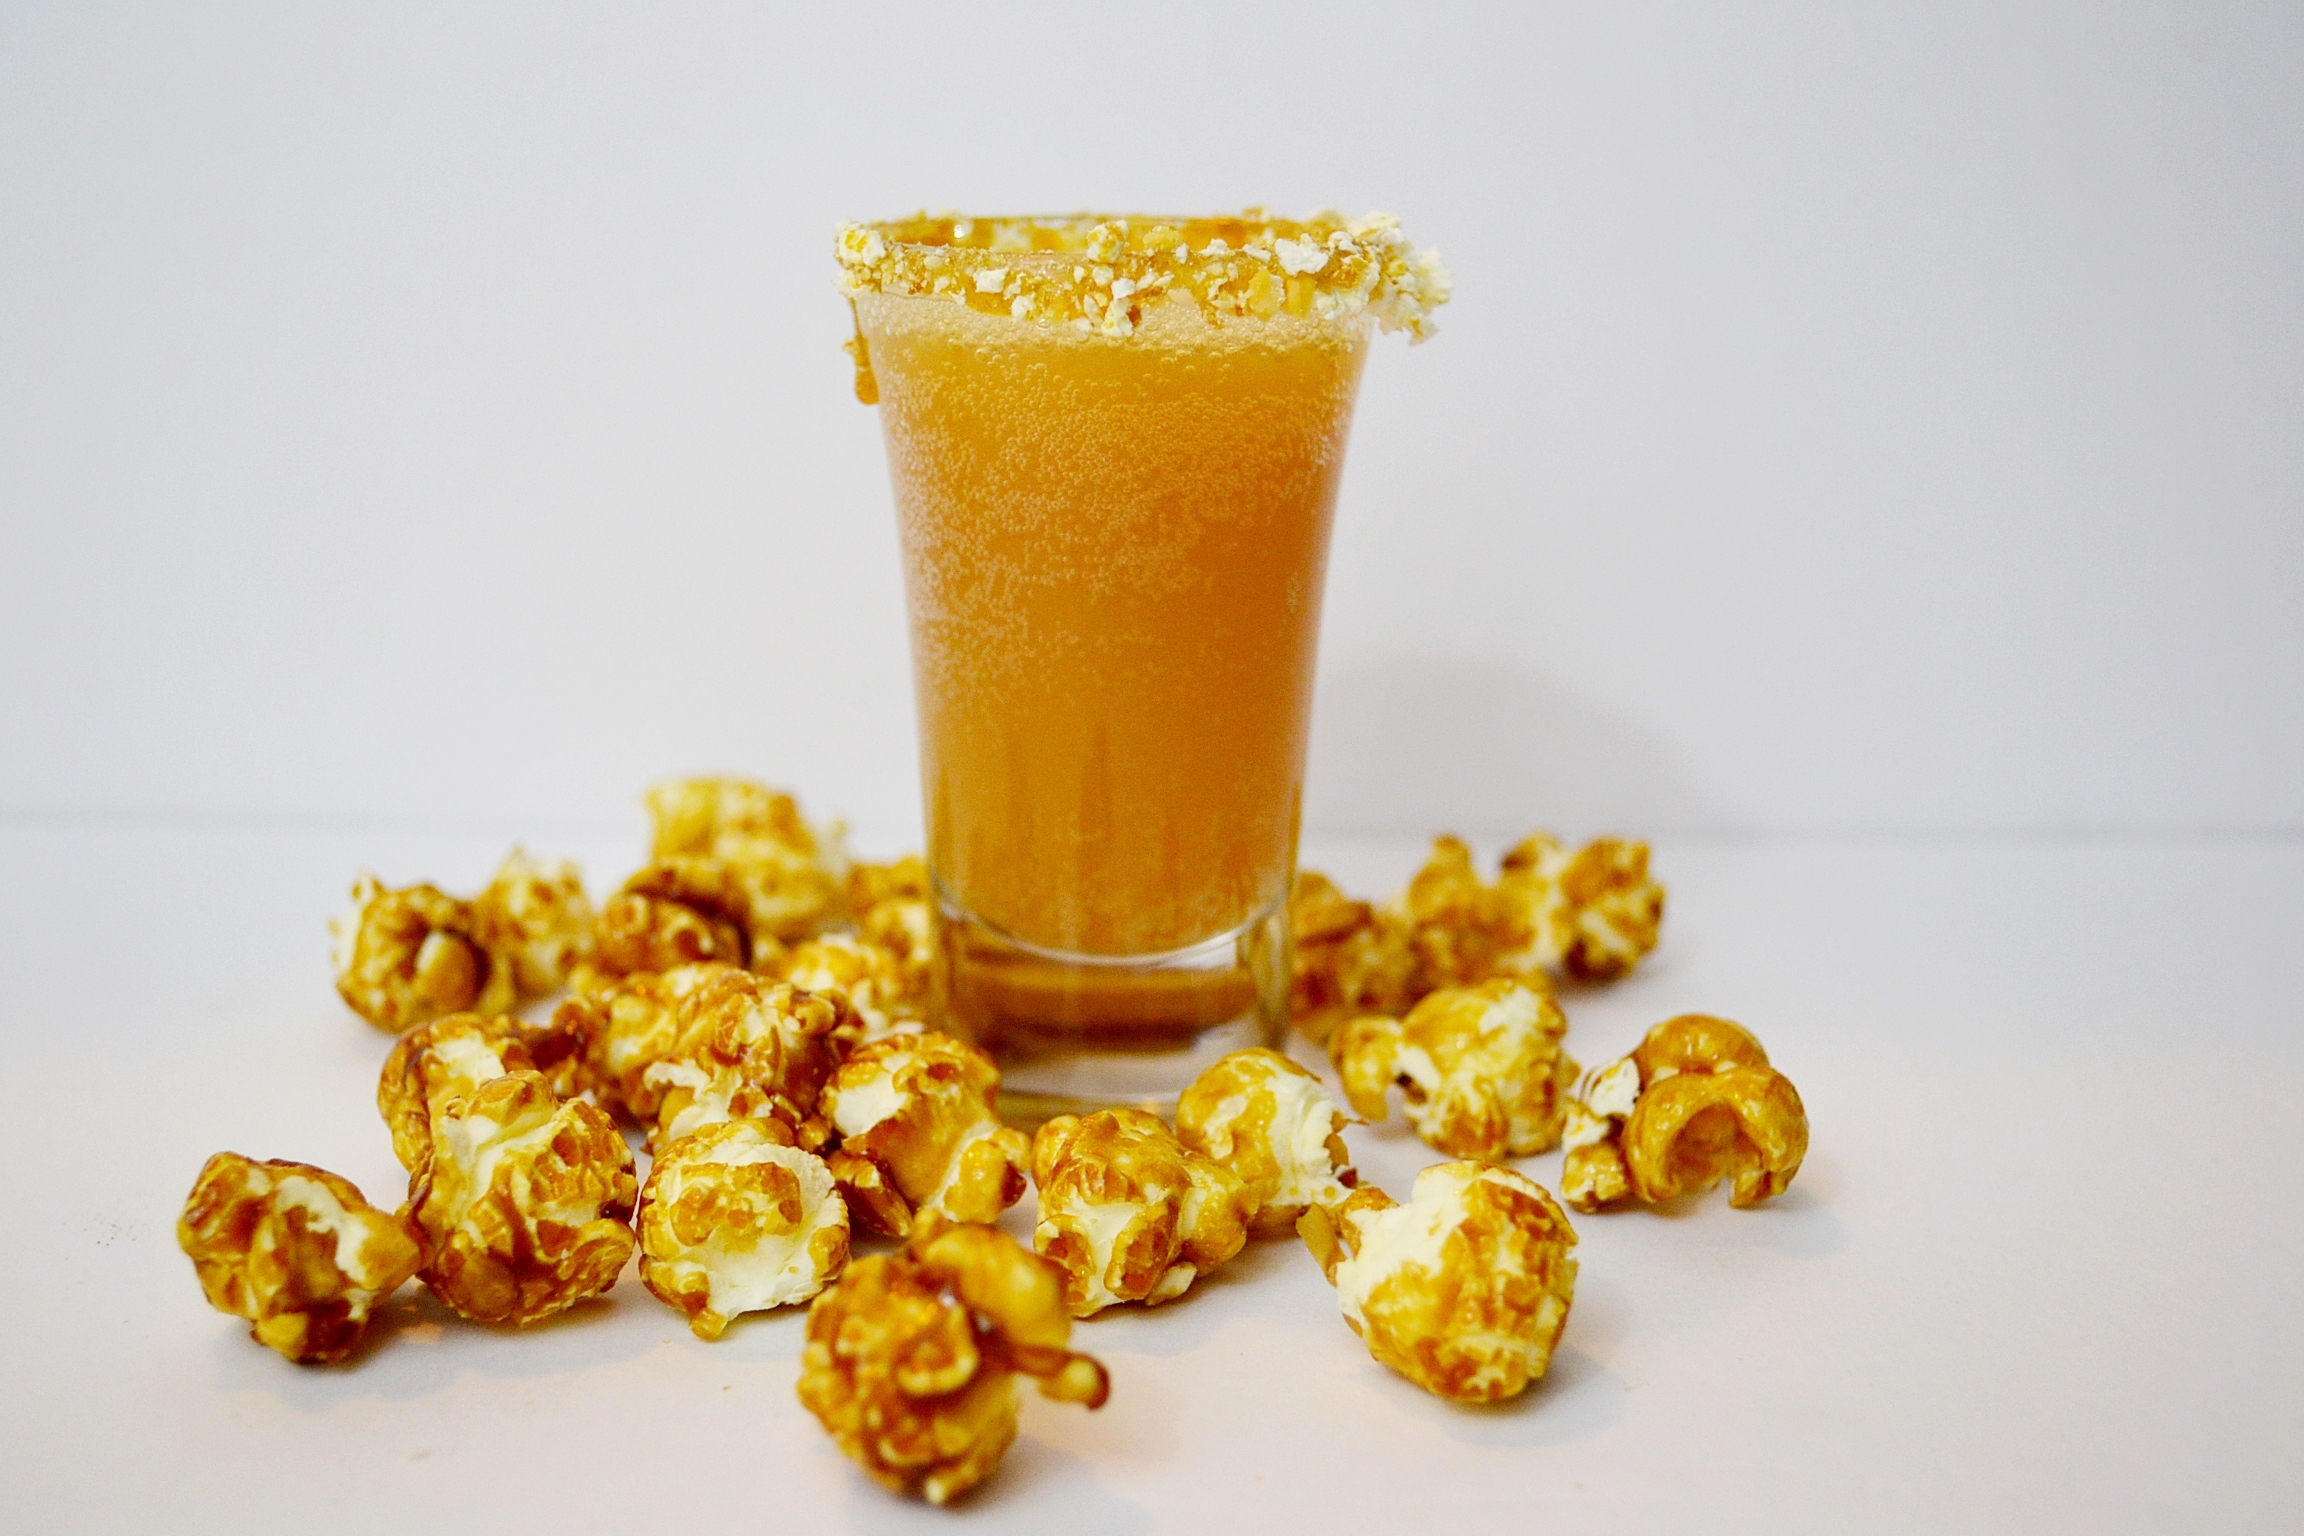
To make the shots themselves, it isn’t necessary to buy or have a ton of alcohol already available and you shouldn’t have much left over. When coming up with recipes for the shots, we made it possible to make them using just tiny single shot bottles of alcohol (we call them airplane shooters) and mixers you don’t have to buy in extreme bulk. We bought everything we needed, including the alcohol, for right around $20. Each recipe makes two shots.
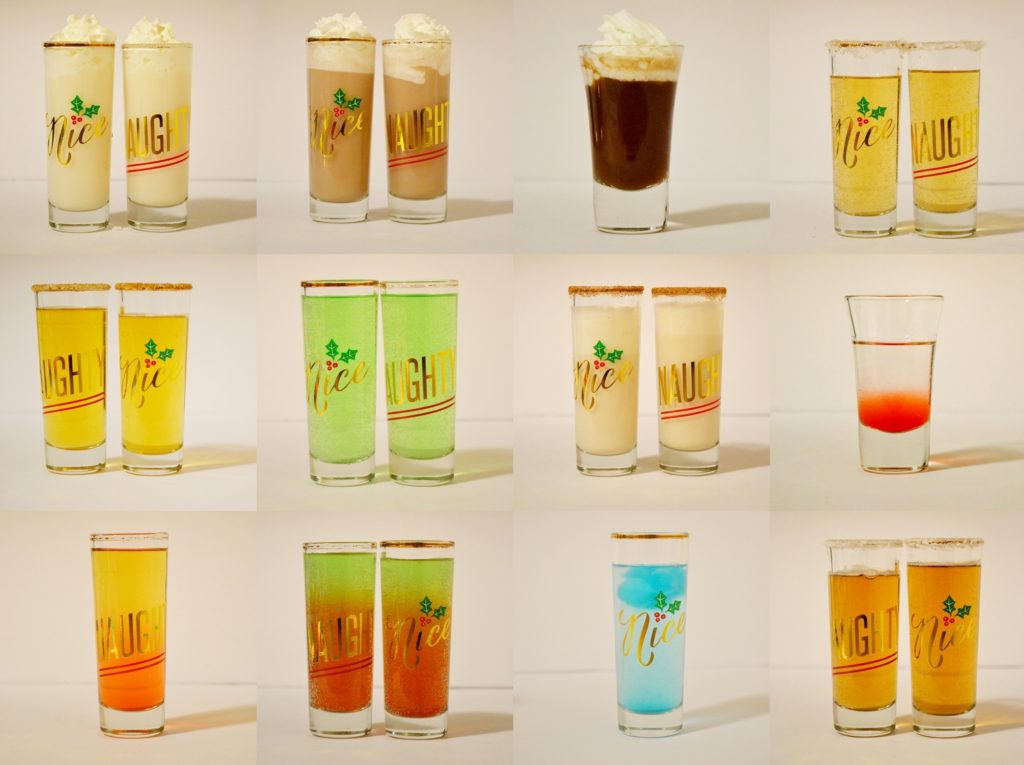
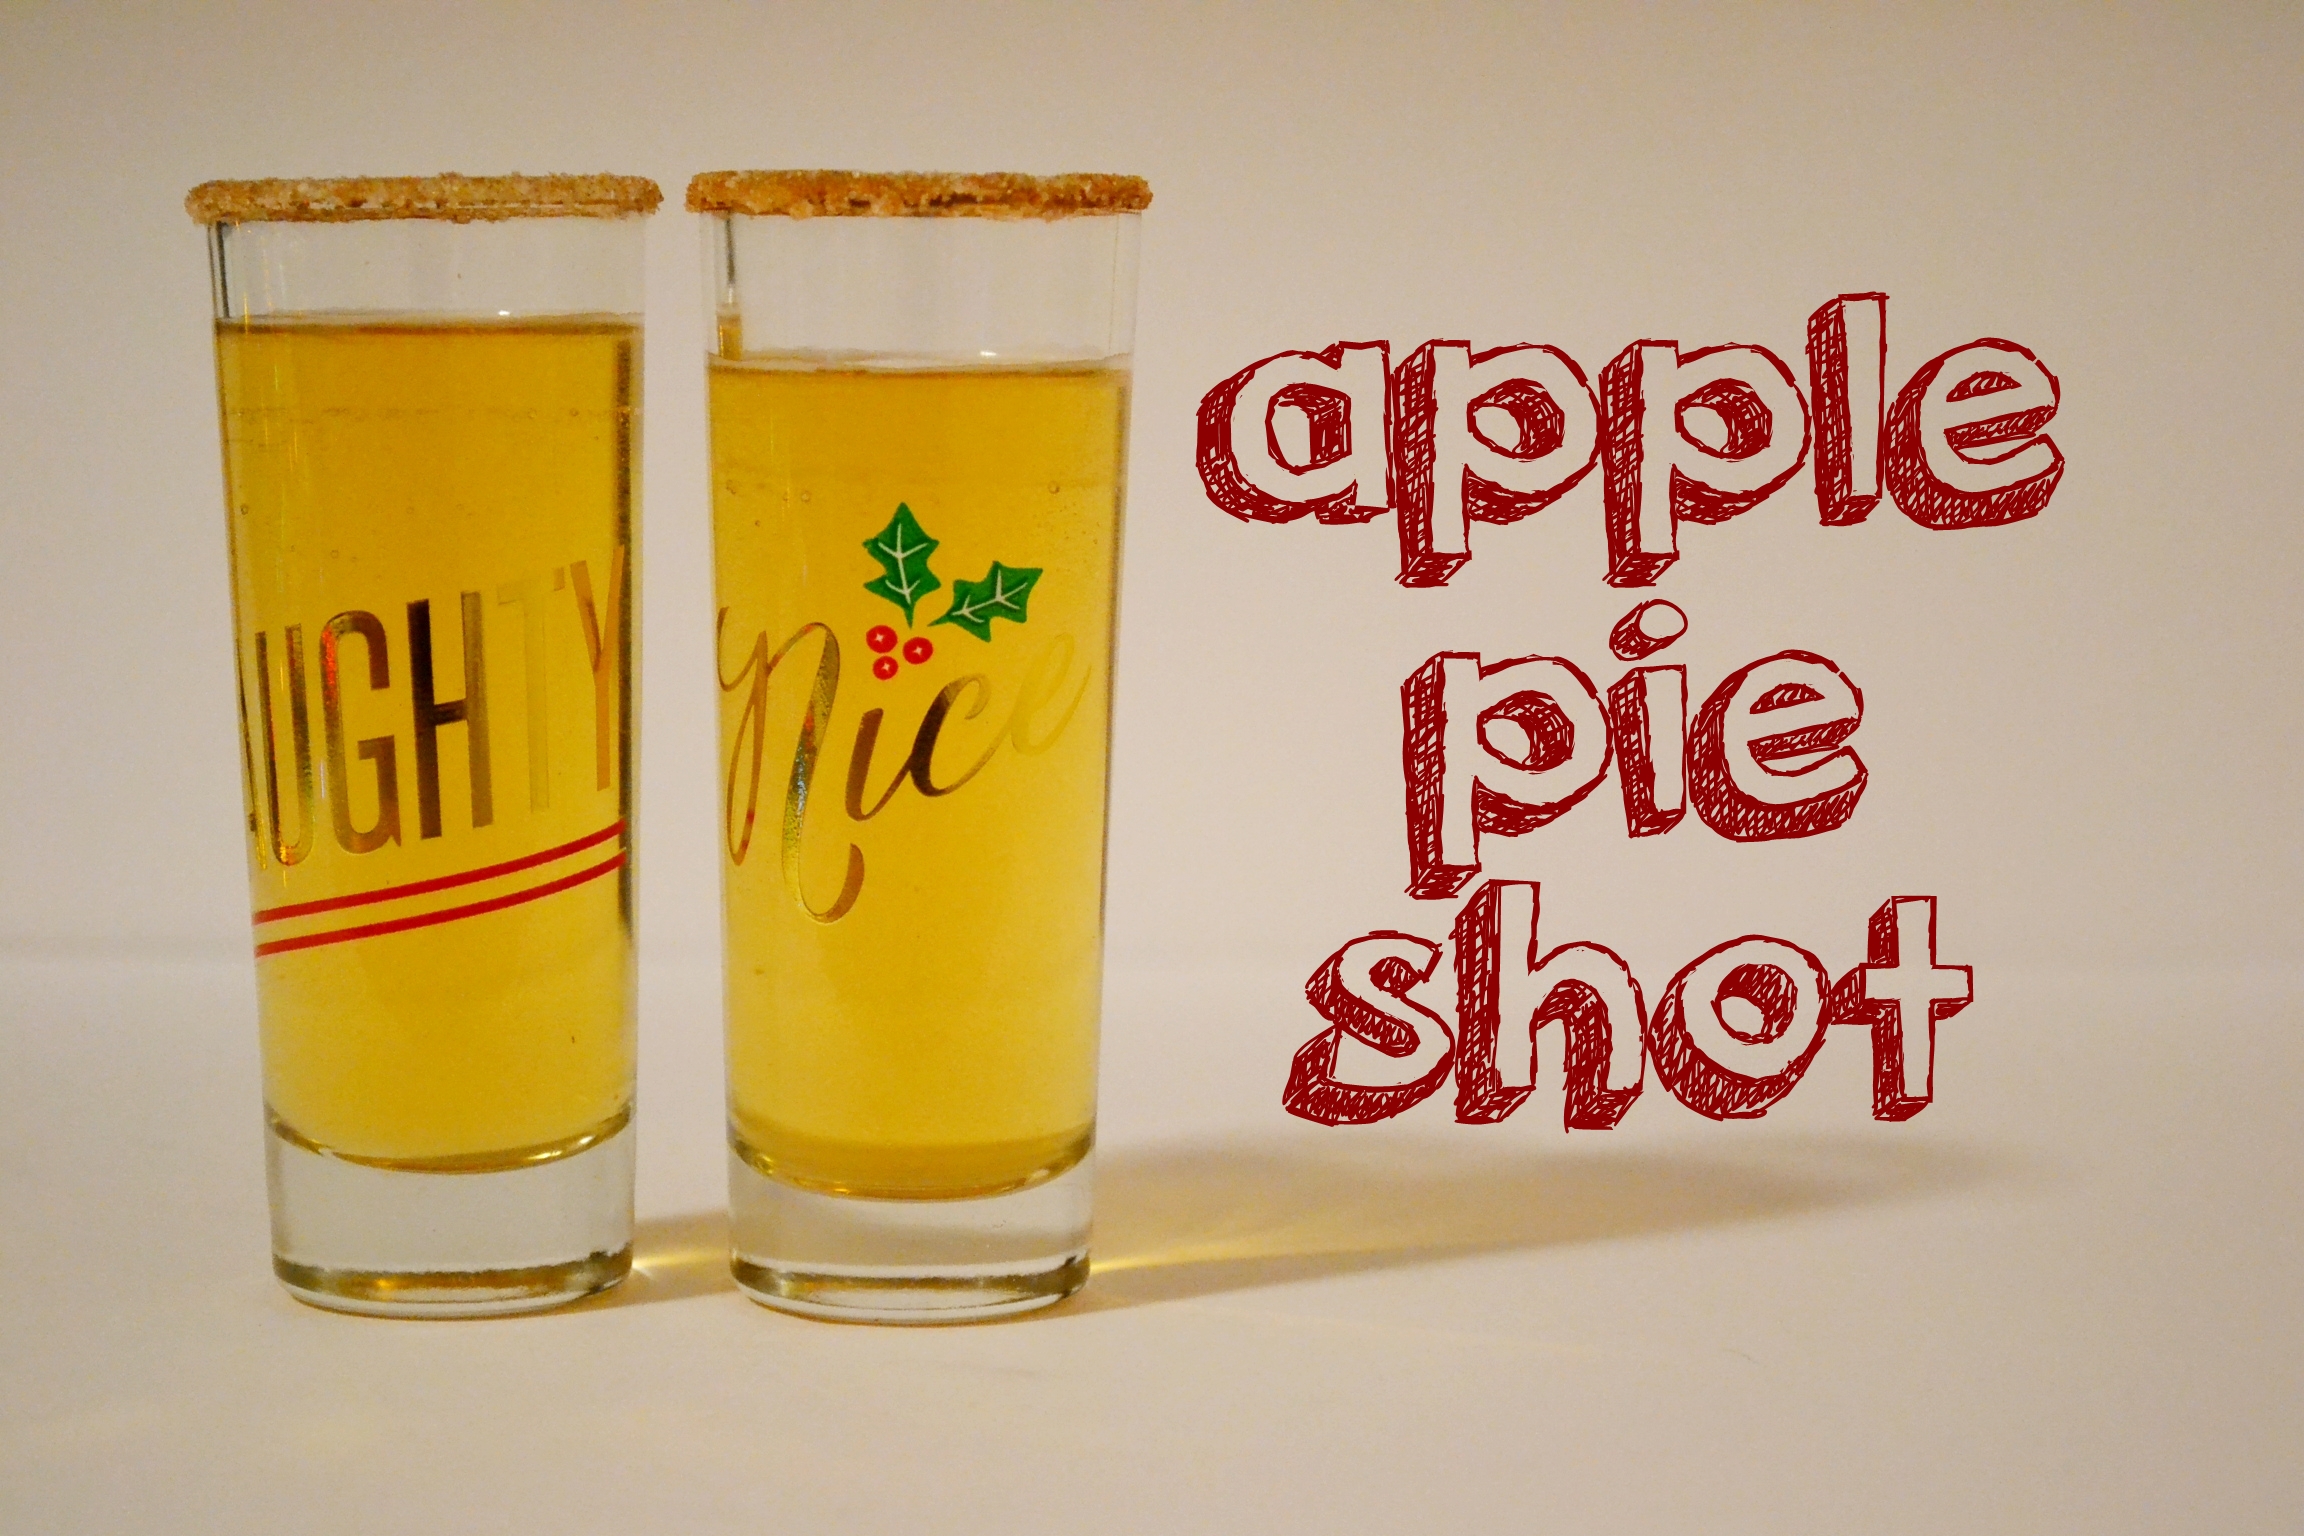
*Get your own Naughty & Nice shot glasses.
There are two printables available below – one is a shopping list for the shots and one is the list of recipes for the calendar. Of course, you can also just follow along with the shots without making the advent calendar. Check out this Twelve Shots of Christmas post for regular links to recipes.
Click below to download the free printables
Twelve Shots of Christmas Advent Calendar Printable
Twelve Shots of Christmas Shopping List
Alcohol Advent Calendar DIY Supplies Needed
- Foam board
- Scrapbook paper
- Ribbon
- Acrylic paint & brushes
- Yard Stick
- Pencil
- Box cutter or sharp knife
- Glue gun & glue stick
- Scissors
- Shot recipe printable
And the alcohol advent calendar DIY begins here.
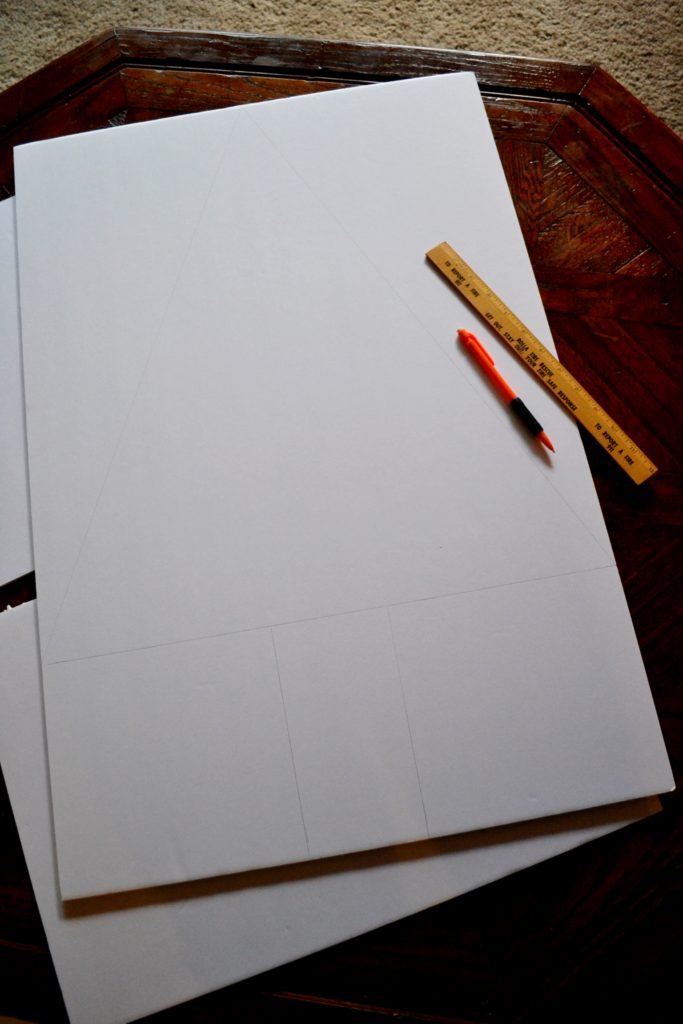
One – trace your tree. Using a yard stick, measure and sketch a large triangle onto your foam board. The top of the triangle should be in the middle of your board (mine was at 10″). The bottom of the triangle should be 6-7″ from the bottom of the board. The tree trunk can be as wide as you want, mine was 4″ wide, measure 2″ from center on either side.
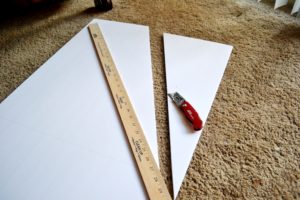
Two – Cut it out. Using the yard stick as your guide, cut out your tree with a box cutter or sharp knife. Cutting with scissors will cause the foam board to wrinkle.
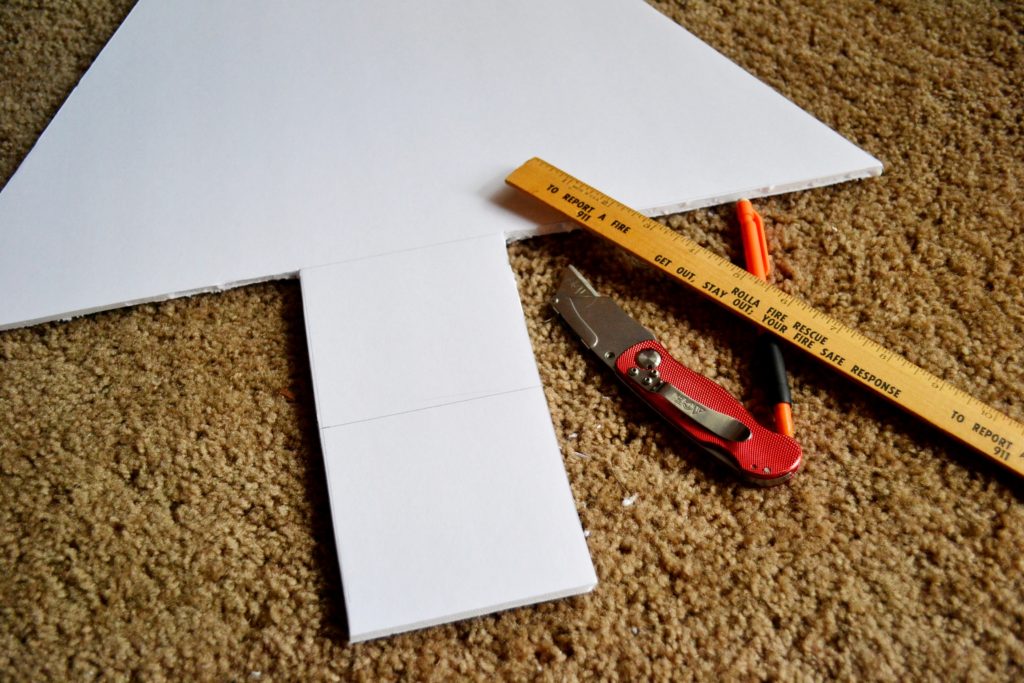
Three – Tree Trunk. Decide how long you want the tree trunk to be. Mine was a little long so I cut it in half, it ended up being 3″ tall.
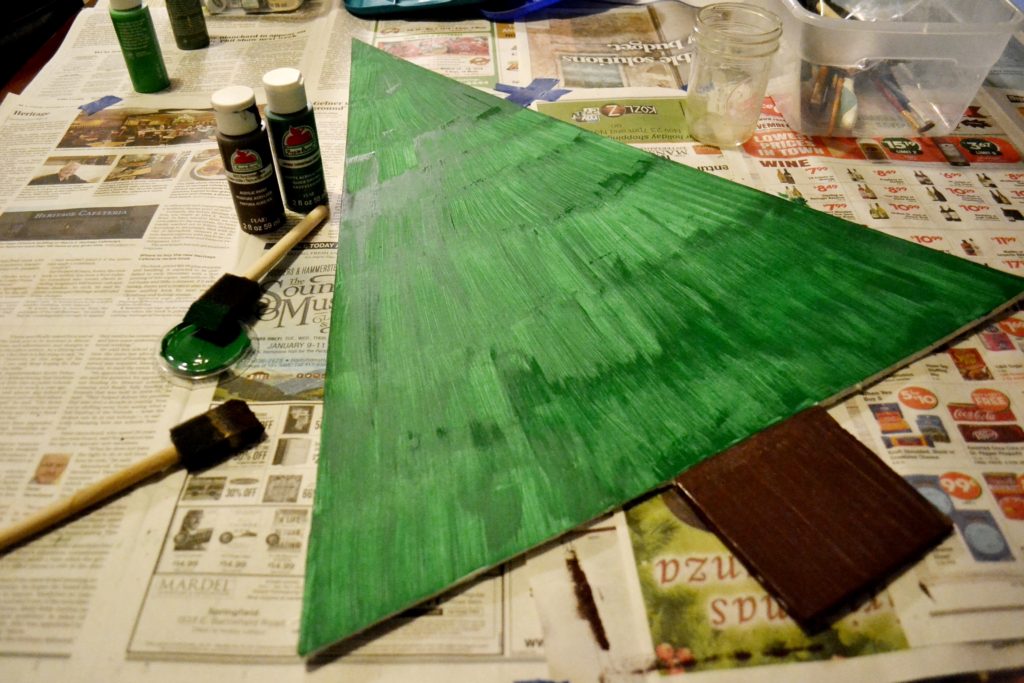
Four – Paint. Paint your tree desired colors. I went pretty traditional with green and brown and just used regular acrylic craft paint. Mine took three coats. Try not to make each coat too thick or the board will start to curl. Mine did a little on the bottom corners but it isn’t too bad.
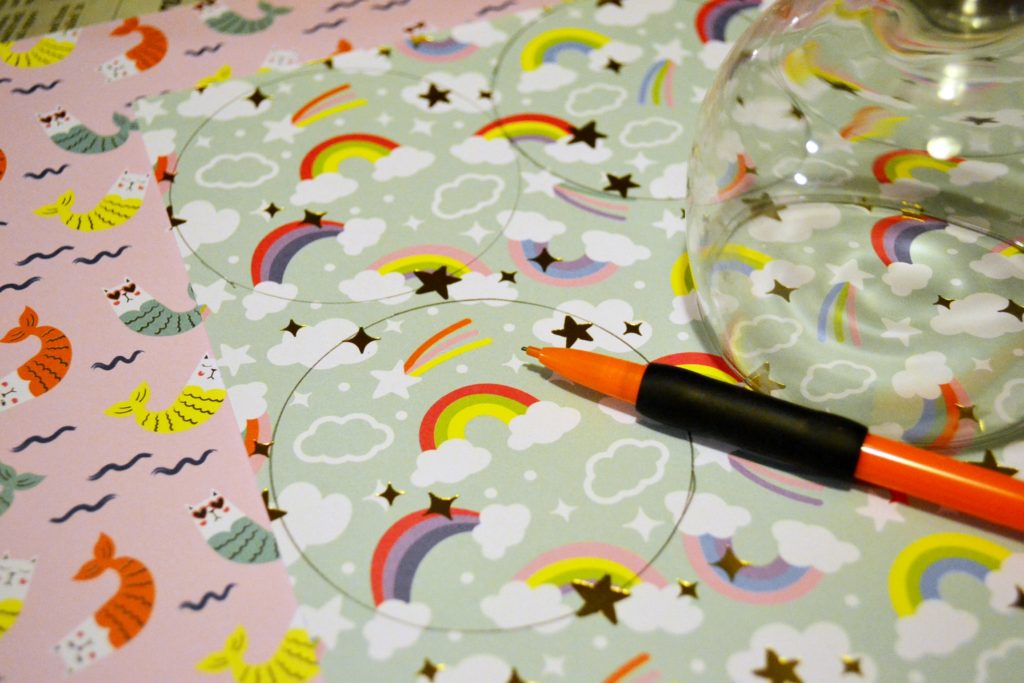
Five. Make ornaments and presents. In between coats of paint, measure all the round glasses in your kitchen and find one that is 2.5-3″ wide. This will be the template for your ornaments. If your ornaments are smaller than 2.5″ your printed shot recipes won’t fit on the backs of the ornaments – they are 2.5″ wide circles. Trace around the glass to make circles on your desired paper and cut out. Do this ten times to make ten ornaments. Also cut out two 2.5-3″ squares to use as presents at the bottom of your tree.
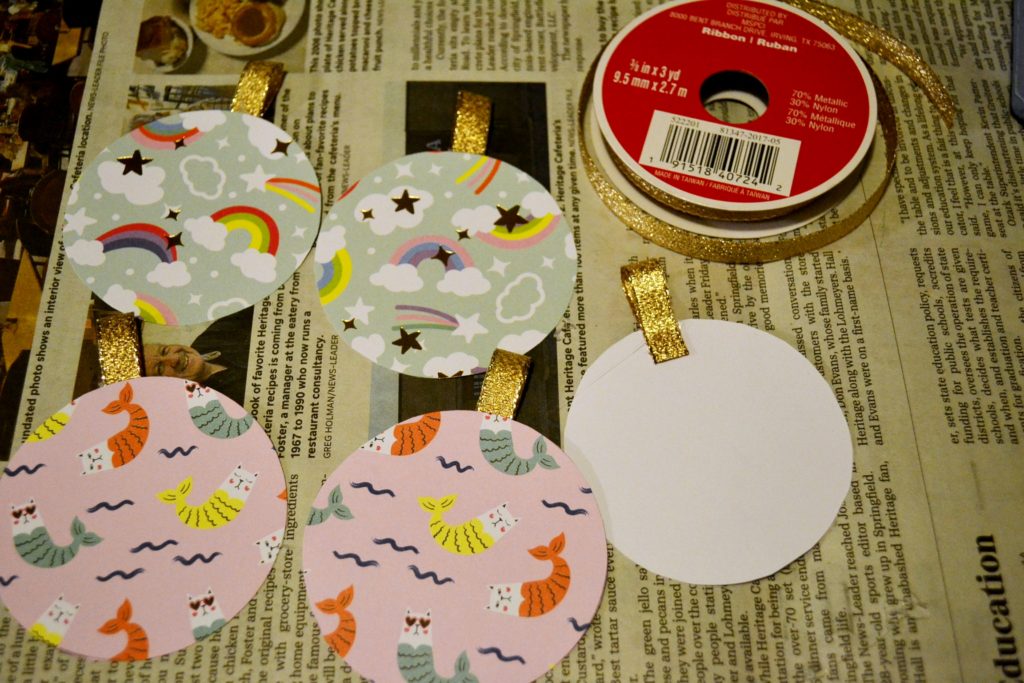
Six. Put tabs on ornaments. Cut ten strips of ribbon around 3″ long. Fold in half and with a glue gun, glue the ends together. Also using a glue gun, glue one folded strip to the back of each ornament.
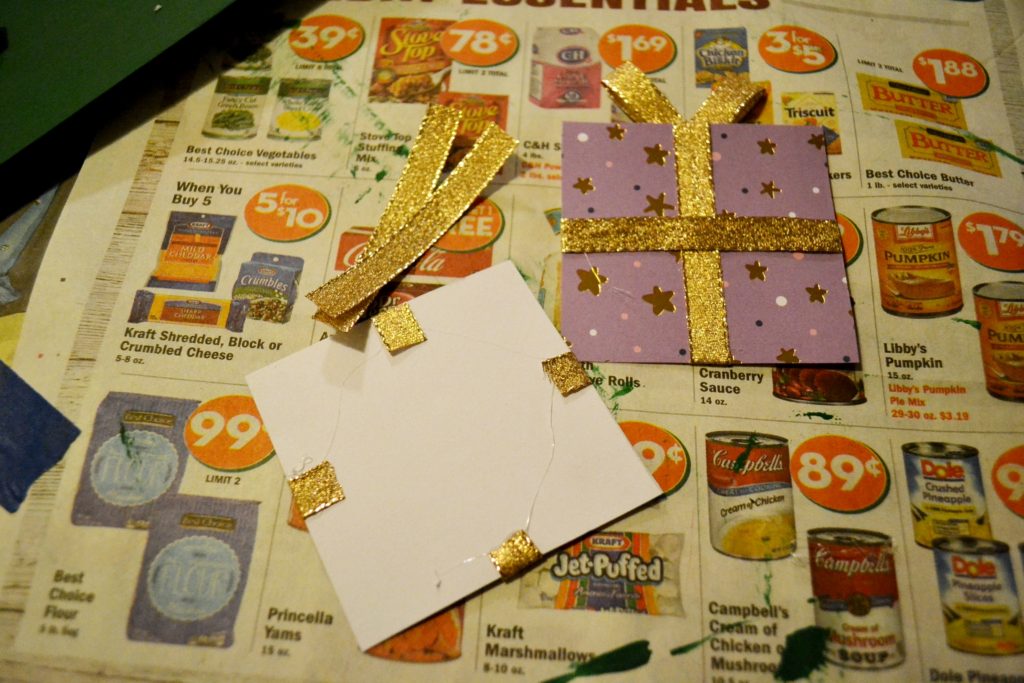
Seven. Decorate presents. Cut two strips an inch wider than your presents and two strips an inch taller than your presents. Glue these on the front of your presents as desired with a strip of hot glue. Fold the extra to the back and glue there also. Cut four more strips, about 4″ long, for the bows on top. Fold these in half and glue ends together, then glue on the top of the back to create a bow.
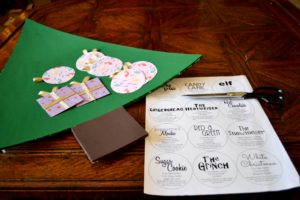
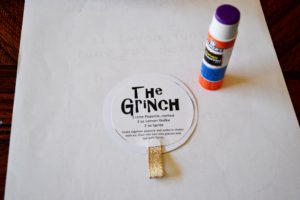
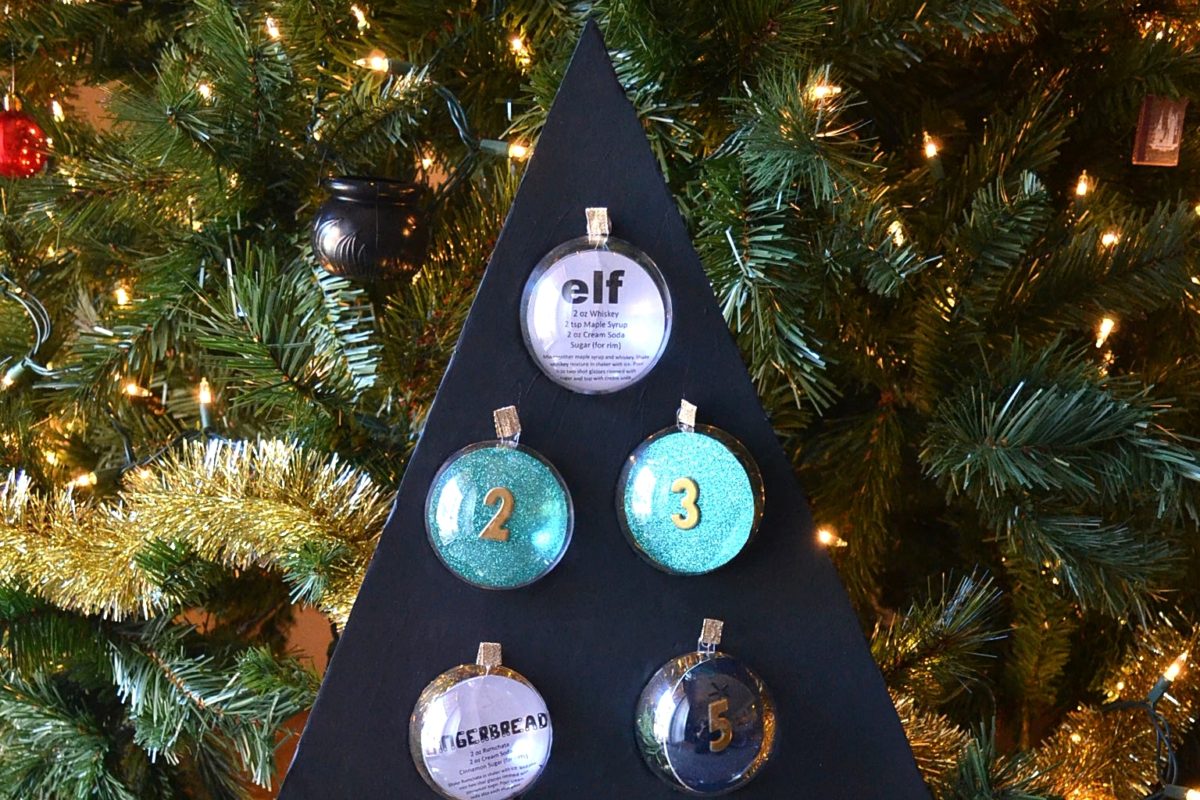
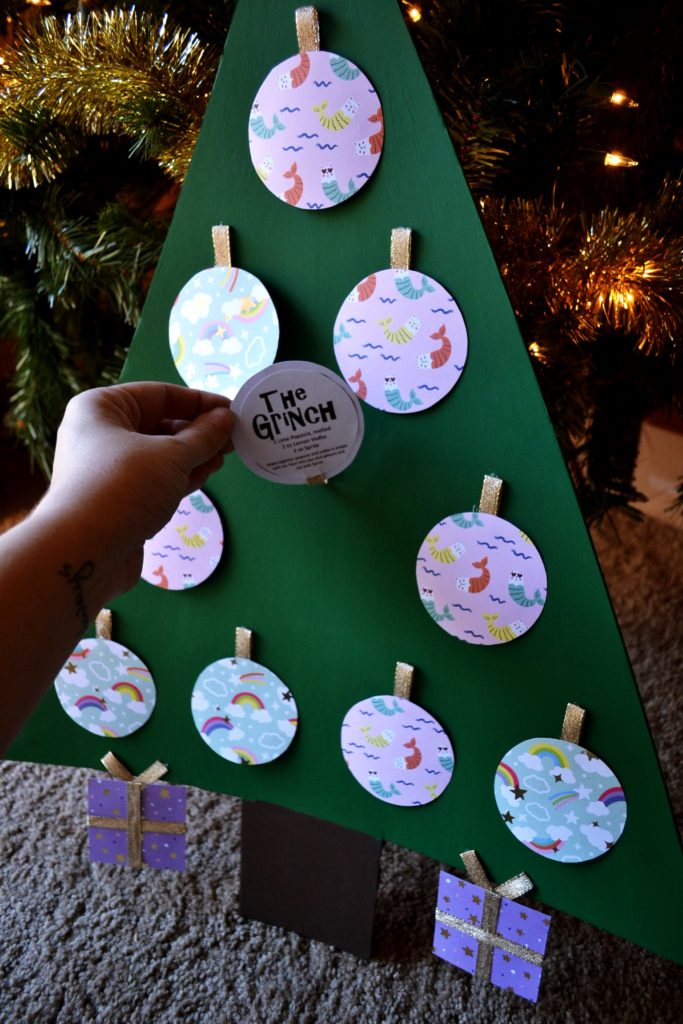
Eight. Attach recipes. Cut out each recipe circle on the printable recipe sheet. You should have twelve circles. Using a glue stick, glue a recipe upside down on the back of each ornament and present. It is important the recipe is upside down because then it will be readable when it is flipped up each day. The order of the recipes doesn’t matter unless you want to do certain shots on certain days.
Nine. Glue on ornaments and presents. Glue each ornament onto the tree with a small dot of hot glue at the top of each ribbon. For the presents, put a dot at the top of both pieces of ribbon. Only glue the very top of the ribbon so the ornament has room to fold up to view the recipe on the back.
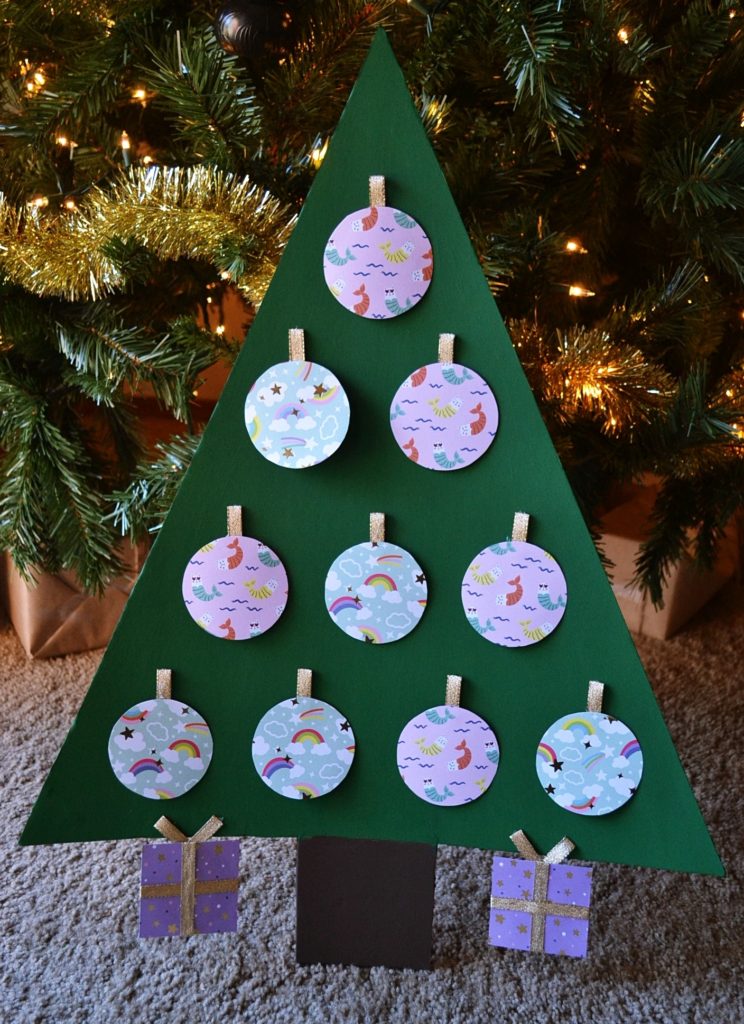
Ten. Add numbers. I decided not to put numbers on mine, but you probably will want to number the ornaments and presents 1-12. Draw them on, stencil them in or use number stickers. And your alcohol advent calendar DIY is complete! You can glue a ribbon on the back to hang it or just prop it up on a table.
And there you have it! Your very own Twelve Shots of Christmas Advent Calendar. Be sure to download and print the shopping list so you can grab all the ingredients to make your shots each day.
Enjoy!
Connect with us on social media and show us what you made! @unicornhideout on Instagram and Facebook.
Need more holiday ideas? Click here!

