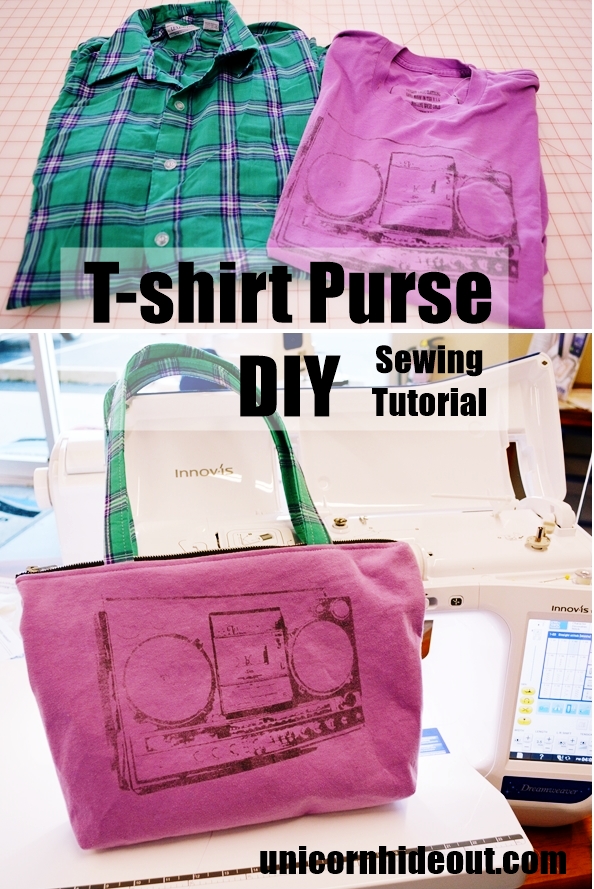
DIY T-shirt Purse Tutorial | Upcycle Sewing Tutorial
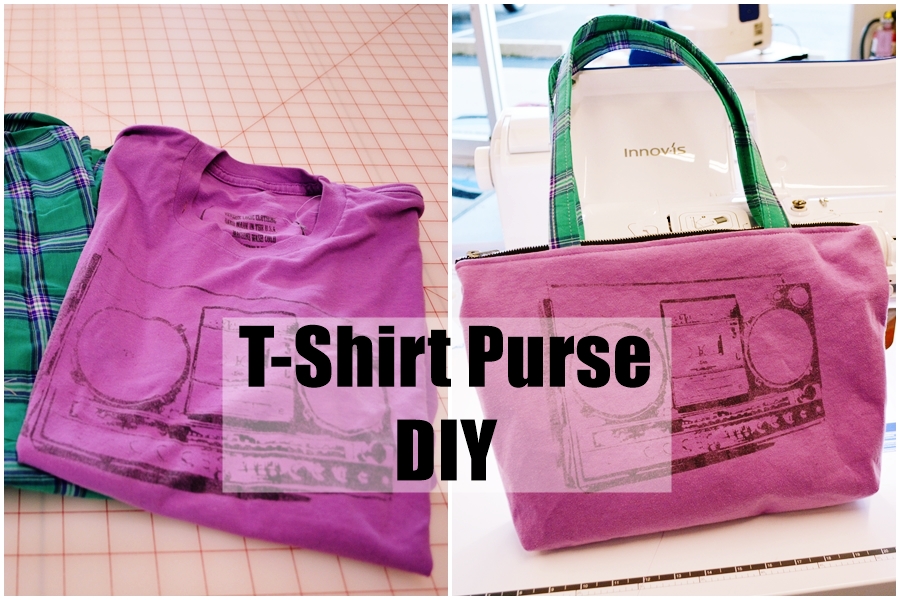
This DIY T-shirt purse tutorial will show you how to take your favorite old t-shirt and turn it into a purse or tote bag. You know, that shirt you can’t wear anymore because of too many pizza rolls. Give it new life as a bag. Or, have a great reason to buy any and all fun t-shirts you find at the thrift store regardless of whether they fit.
This DIY T-shirt purse tutorial creates a lined bag with pockets and a zipper and is made from two shirts. The t-shirt bag design and the steps to make it are completely created by my mother Phyllis, a very talented and experienced seamstress. The tutorial follows along as I make my own bag and is written by me from her instruction. So this is a fairly detailed sewing tutorial written by a beginner with instruction from a sewing expert. This tutorial is probably an intermediate project. It is also completely customizable – leave out the pockets, add extra, make long straps or short straps, make a giant tote or a little handbag. Everything depends on what you want and the size of the image on your t-shirt of choice.
By the way, I still can’t believe I actually made a purse.
This post contains affiliate links, which means if you click a link and make a purchase we may receive a small commission at no extra cost to you. Thank you for your support!
DIY T-shirt Purse Tutorial
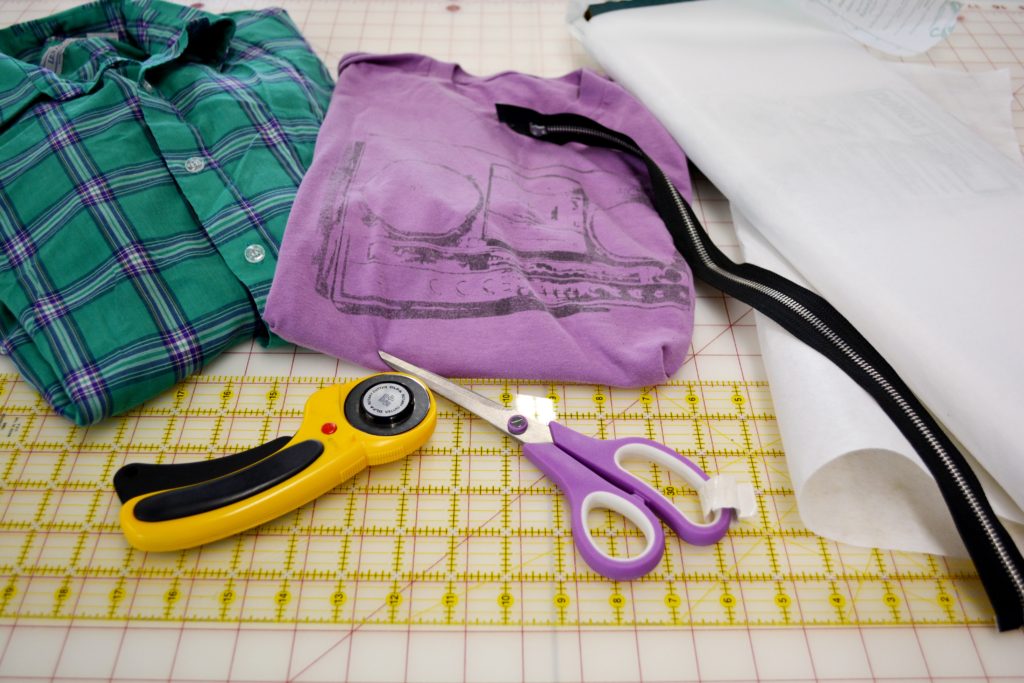
Supplies:
- Two t-shirts OR a t-shirt and a button up
- Scissors
- Fusible Interfacing
- Iron & ironing board
- We used the Oliso Smart Iron, which is very cool and lifts off the board when you aren’t touching it.)
- A zipper*
- Rotary cutter, clear ruler & cutting mat.**
- Sewing machine
*Zipper length will depend on the bag you’re making. Go longer than you think you’ll need. Mom just has boxes and boxes of zippers so we didn’t really discuss how to choose one.
**This could be done without these but I strongly suggest using them. It completely takes the guesswork out of measuring and cutting and the first part of the tutorial basically revolves around the rotary cutter. Here’s the set I have at home on Amazon. It can also be used for paper if you do more paper crafts than sewing.
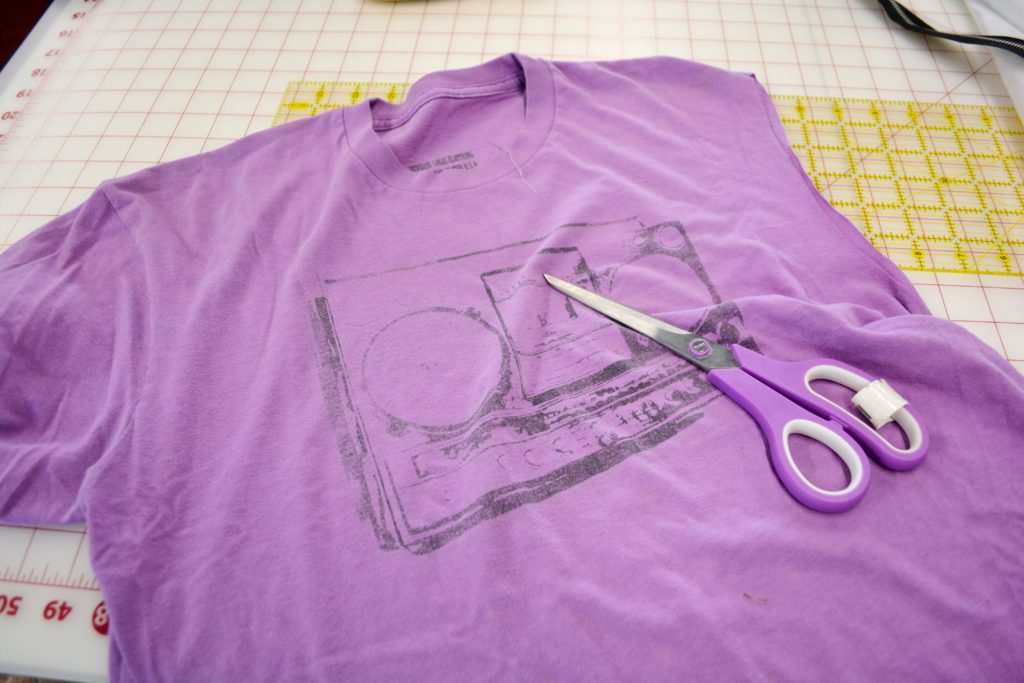
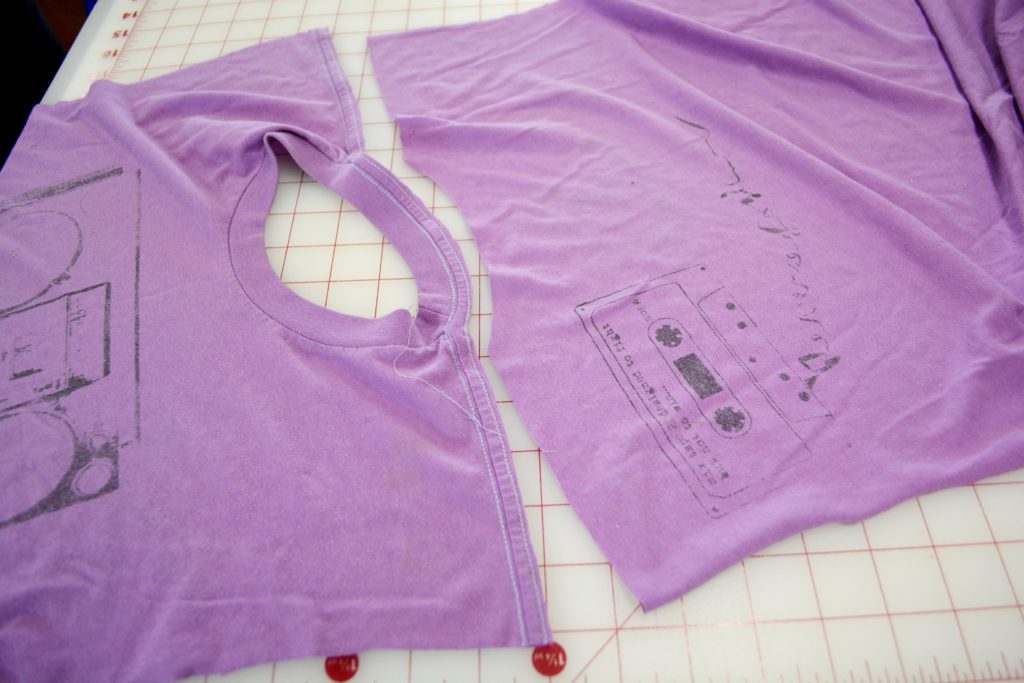
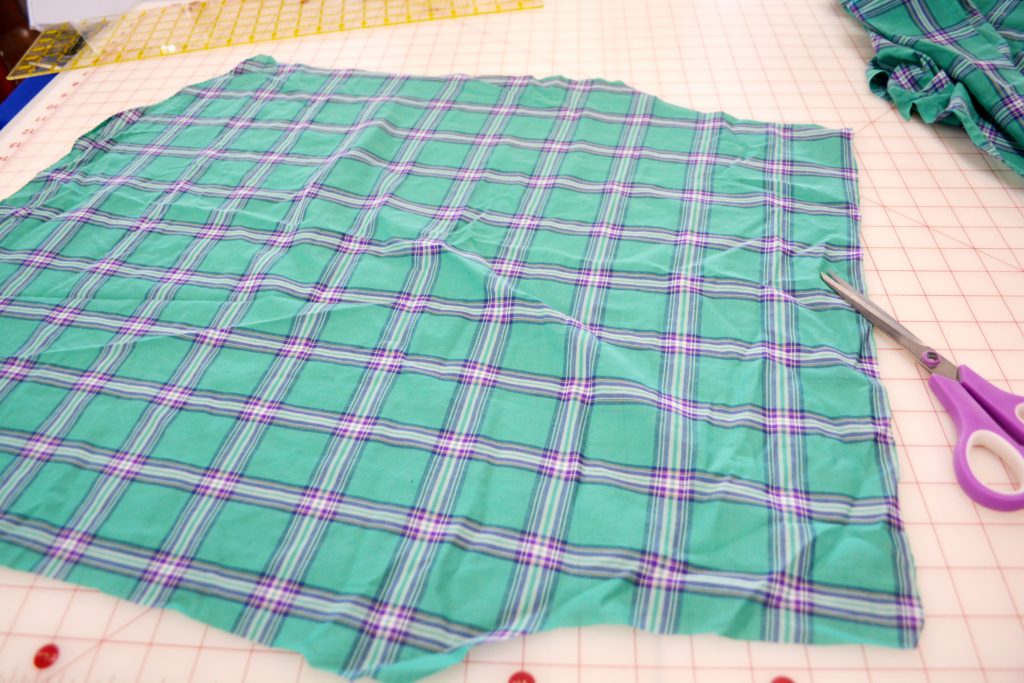
Step One: Cut Off The Extra
First things first – cut up that t-shirt! Don’t worry about the size you want your final bag at this point, just keep it as big as possible. Cut the sleeves off first and set them aside – we’re going to use them later to make some pockets inside the purse. Then cut along the sides of the shirt, separating front and back. Then cut off the neck. If your design is really close to the neck be careful to leave all the room you’ve got so you’ll have room above the image to put on the zipper. I had to be super careful with the back image since it was so close to the top. But your own t-shirt design will dictate how you need to cut everything apart.
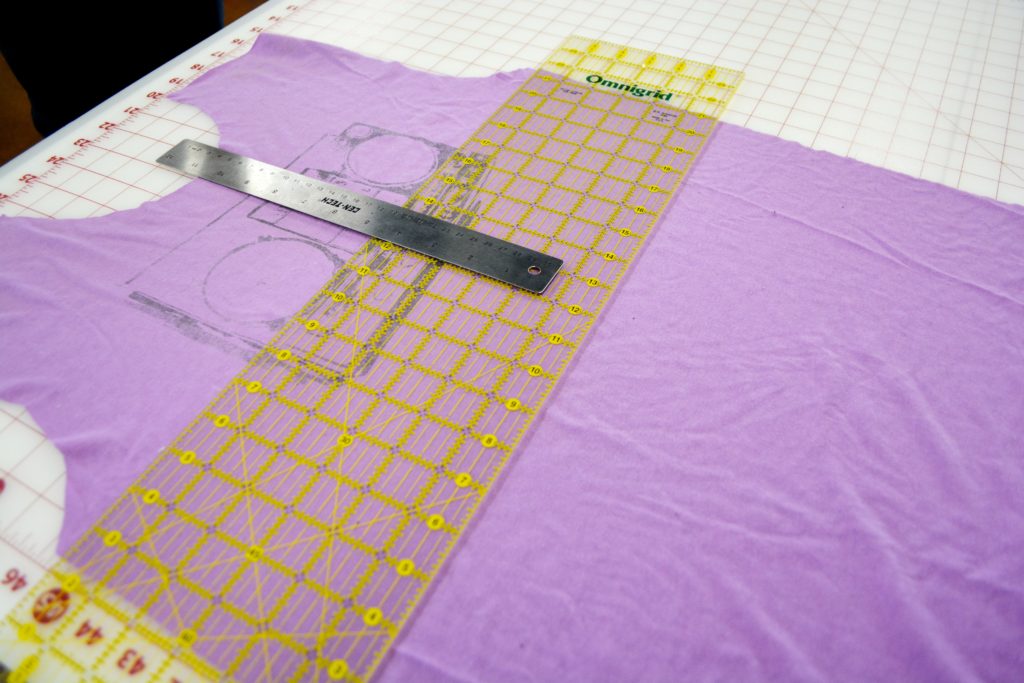
Step Two – Do Some Math Then Cut Off the Bottom of the T-shirt
Now you have to do a little measuring to figure out where to cut off the bottom of your shirt on the front and back. You want to decide how tall your bag is going to be right now. Let your t-shirt image guide you. You can also measure another tote bag or purse to see what certain heights will look like finished. Also decide how deep your bag will be. We went with two inches on the depth of the bag. So for the front and back, you want to cut the number of the depth in half and add that amount to the height of the bag. Then you add enough seam allowance for the top and the bottom of the bag. We added another inch, so a half inch for both the top and bottom.
So for example, if your bag is going to be 10 inches tall, and you want a depth of 2 inches like we did, you’re going to add 1 inch for the depth (depth cut in half) then 1/2 inch for the top seam allowance and1/2 inch for the bottom seam allowance, making 12 inches the height you’re going to cut both the back and the front of your bag. 10in height + 1 in depth + 1/2 in top seam allowance + 1/2 in bottom seam allowance = 12 in total. Measure from the bottom of the neck on both the front and back because above that is unusable shoulder stuff. Phew, that was a lot to pack in there. I thought this was one of the trickiest part and all we did was cut off the bottom part of the t-shirt.
Here it is again for the nerds in the back:
Height of bag + (depth divided by 2) + seam allowance for top + seam allowance for bottom = total height to cut
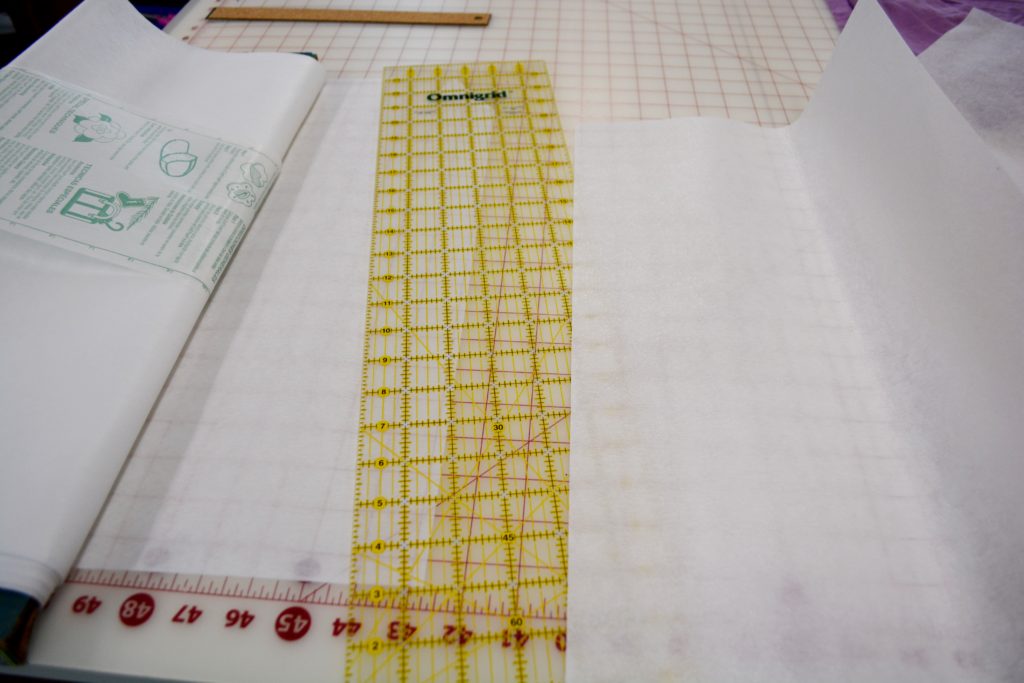
Step Three: Interfacing
Next part – cut two pieces of interfacing the same height as that number we just decided on so they’ll match the front and back of the t-shirt pieces we just cut. We’re pressing this onto our t-shirt pieces next.
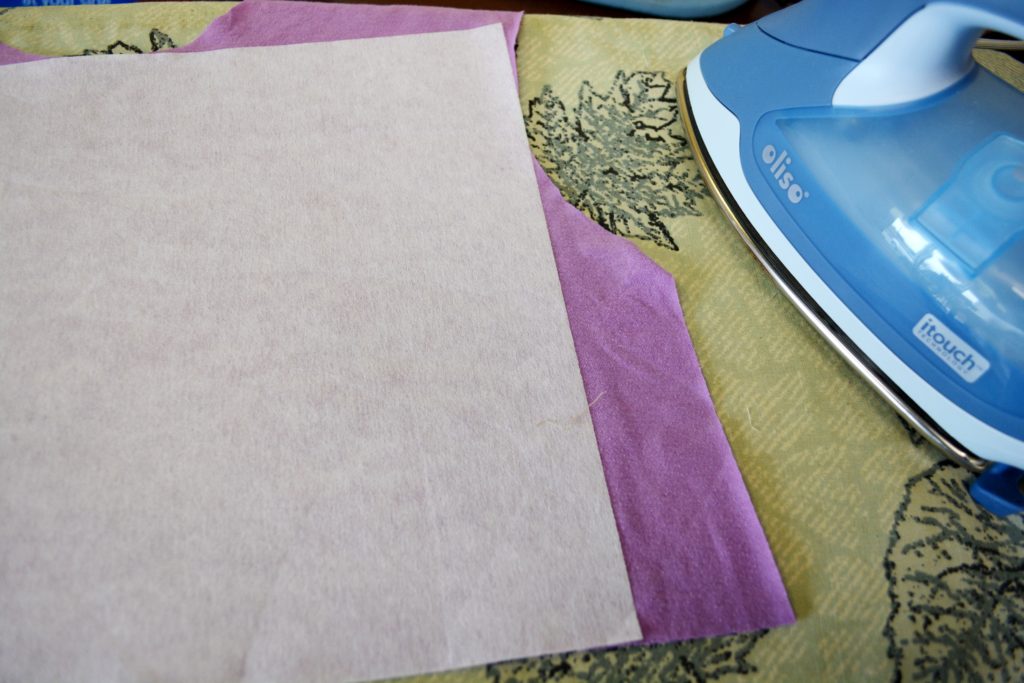
Take your t-shirt pieces and interfacing to the ironing board. Trim one edge of the interfacing so it’s just the width from sleeve to sleeve, since the rest of the side is unusable (see photo.) Also this will keep you from sticking interfacing to the ironing board. I didn’t know anything about interfacing when we did this, so I’ll tell you what I learned. First off, you press and don’t iron. Also interfacing has two sides, one side that’s going to stick to whatever it’s on when it gets hot so you want to make sure that is the side that’s against the t-shirt. Our interfacing had a shiny and a non-shiny side but Mom said some are a little different. If you aren’t sure, check your interfacing packaging or phone a friend. This is probably obvious stuff, but I didn’t know so I thought I’d share.
Since we’re using a t-shirt that is stretchy and has a design that probably shouldn’t be ironed, it’s better to lay the t-shirt piece design-side down and lay the interfacing on top and press that way instead of pressing on the t-shirt side. This will keep it from getting wrinkly and weird and also keep you from transferring the design onto your iron, a few things you definitely don’t want.
Step Four: Lining
On to the lining! You just need to cut two pieces that are approximately the same size as your t-shirt pieces. You don’t have to be exact, we’re going to trim everything up in the next step. Just make sure they’re the same length and wide enough. Our button-up was big, so we were able to get all of it from the back. I would recommend using a big button-up so you can do the same. It made it super easy.
Step Five: Trim It All
Now stack up all four of our pieces, two t-shirt pieces with interfacing and two lining pieces, and cut them all at the same time to the final size for the purse. This is where the rotary cutter and that ruler thing makes things super easy. This is also where you’re going to decide on the width of your purse. We just made it as wide as the t-shirt would let us. Mom says the t-shirts speak to her and tell her what size purse they want to be. Which makes sense, because depending on the design on your t-shirt, you will be limited on how tall and wide the purse can be.
Step Six: Pockets
Now, Mom insists that all purses and bags need pockets on the inside. The sleeves already have a hem on one side, so they’re perfect for turning into pockets. There’s no right or wrong way to do this, you just decide on a pocket size and cut up the sleeve, leaving about a quarter inch seam allowance along the sides and bottom which you’re going to turn under. The top of the pocket will be the hem of the sleeve.
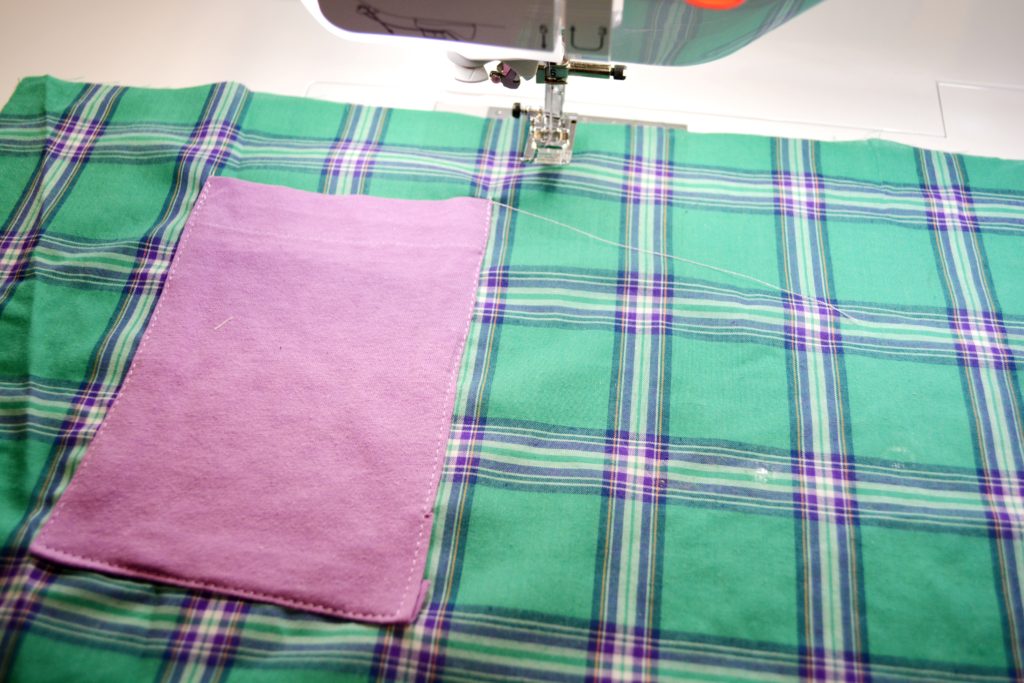
Now we finally do some sewing. Turn your quarter inch under and press it along the sides and bottom of the pocket. Then pin it to one of the lining pieces, positioning it where you want it to be inside the purse but making sure it isn’t too far to the bottom or top or it will end up in the seams of the purse when it’s all sewn together. And then just sew that thing on there. Easy enough.
Step Seven: Sew Together Lining
I skipped some pictures here, but next thing is sewing together the lining, right sides together, around the sides and bottom, while leaving a hole at the bottom maybe six inches wide or so right in the middle. You’re going to pull the whole purse through this hole when it’s all finished. Sounds weird, but it will all make sense. Be sure to back stitch on either side of that hole you leave so it can handle the stress of pulling the rest of the purse through.
Step Eight: Sew Together Outside
After that, sew together the t-shirt pieces, also right sides together, all along the sides and the bottom. This one doesn’t need a hole left in the bottom, just sew away.
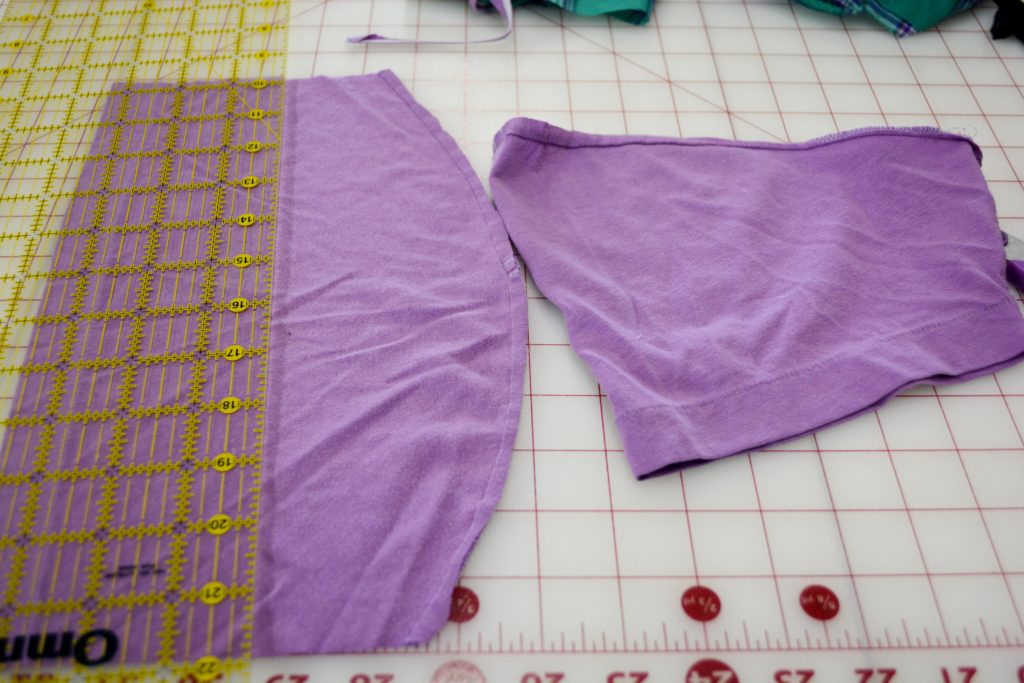
Step Nine: Square Off The Bottom
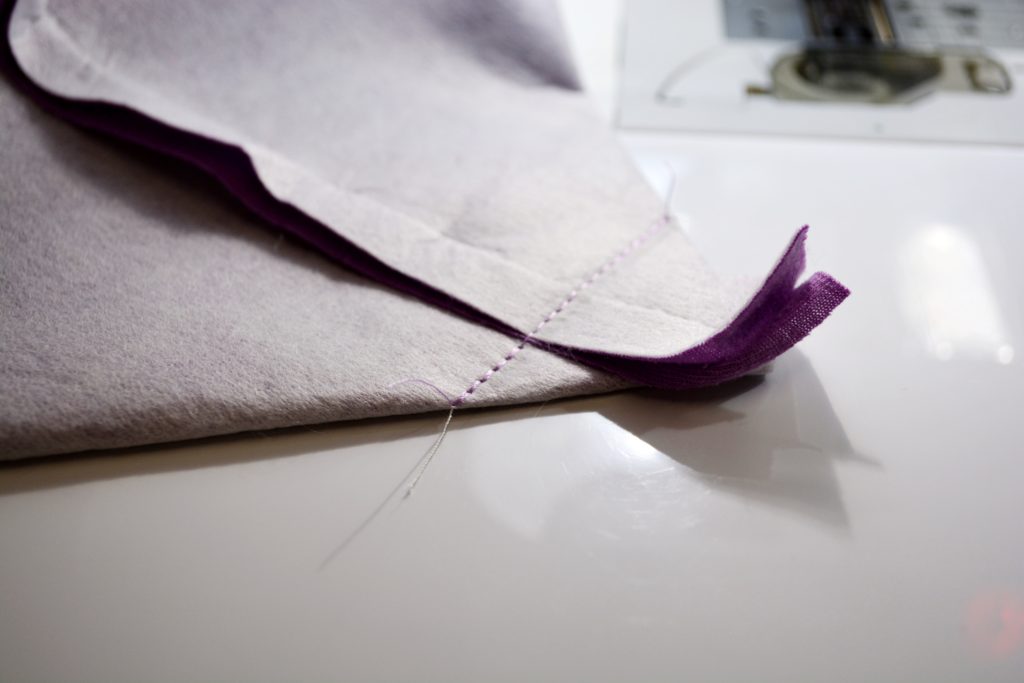
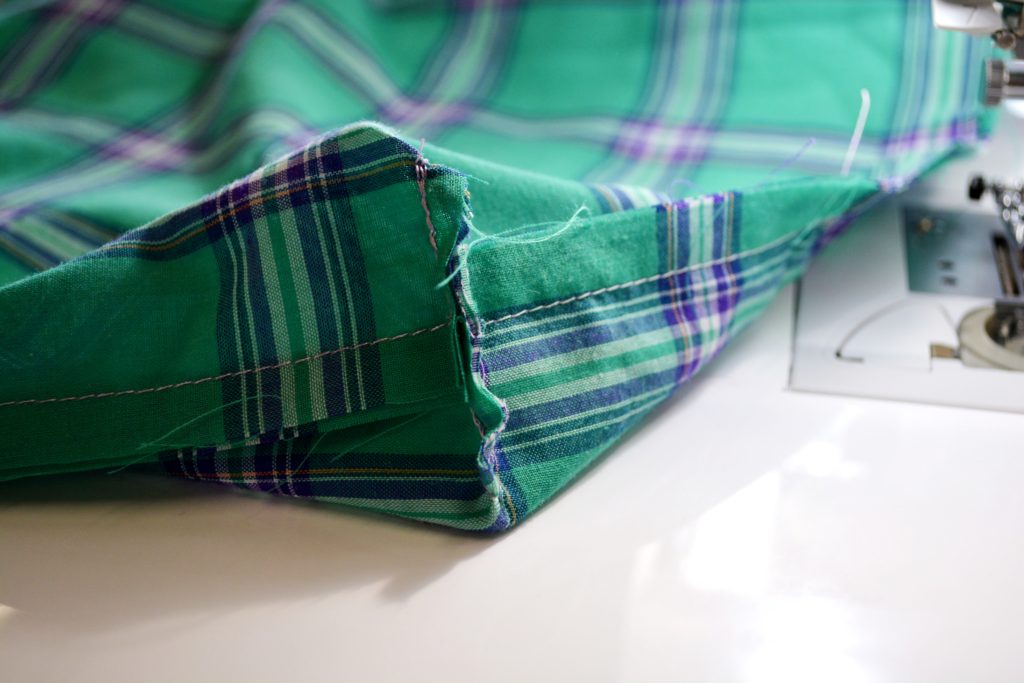
Now it’s time to square off the bottom of the bag. You’re going to do this on both the lining and the outside of the bag the exact same way. I’m not sure I can explain this properly so that it is crystal clear, but I’ll try. Hopefully the first photo will help it make sense. Turn the bag so that the bottom and side seams are lined up, stacked on top of each other, then measure across from the corner of the bag. For a two-inch deep bag, which is what we made, you want exactly an inch on both sides of the seam. Using a ruler, draw a line that is perpendicular to the seam and sew across that line. Then, as shown in the second photo, cut off the excess. When you sew this you want the seam allowance to be turned the opposite way on opposite sides of what you’re sewing, as you can see in the bottom picture.
Step Ten: Make Straps
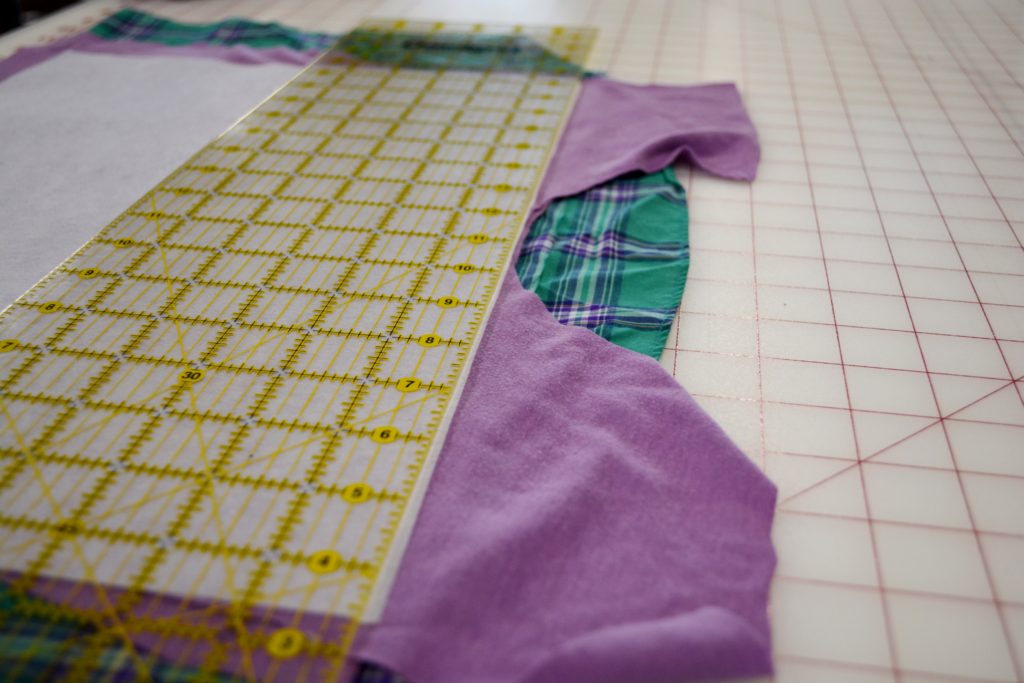
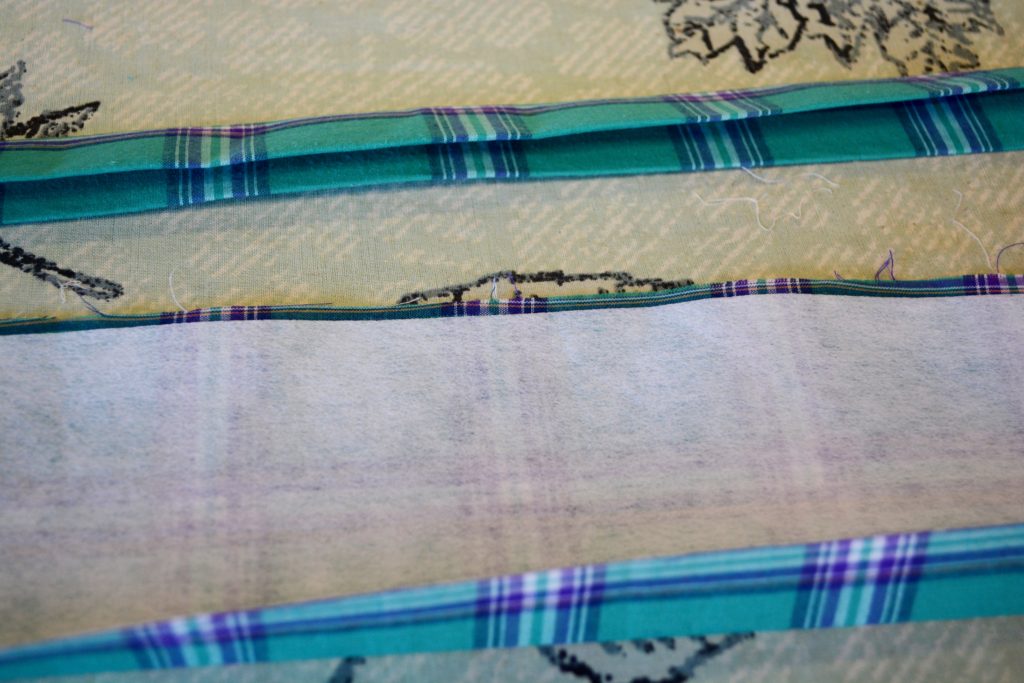
Next up, we’re making purse straps. Ours were 24 inches long which is a good length if you want the straps to go comfortably over your shoulder. These can be made from leftover lining fabric or the t-shirt, whichever makes sense to you and whichever you have enough fabric left from. So the length is whatever you want, but the width of material you need for a one-inch strap is going to be four inches. If you want a wider strap, just take the width you want times four. We cut two pieces from the button-up that were 24 inches long and four inches wide, just to give you a more specific example. Then interface each of these pieces the same as we did the t-shirt pieces. Then fold in half lengthwise and press, unfold, and fold each side into the middle and press. Fold the whole thing in half again and press. You should have something like you see at the top of the first photo above.
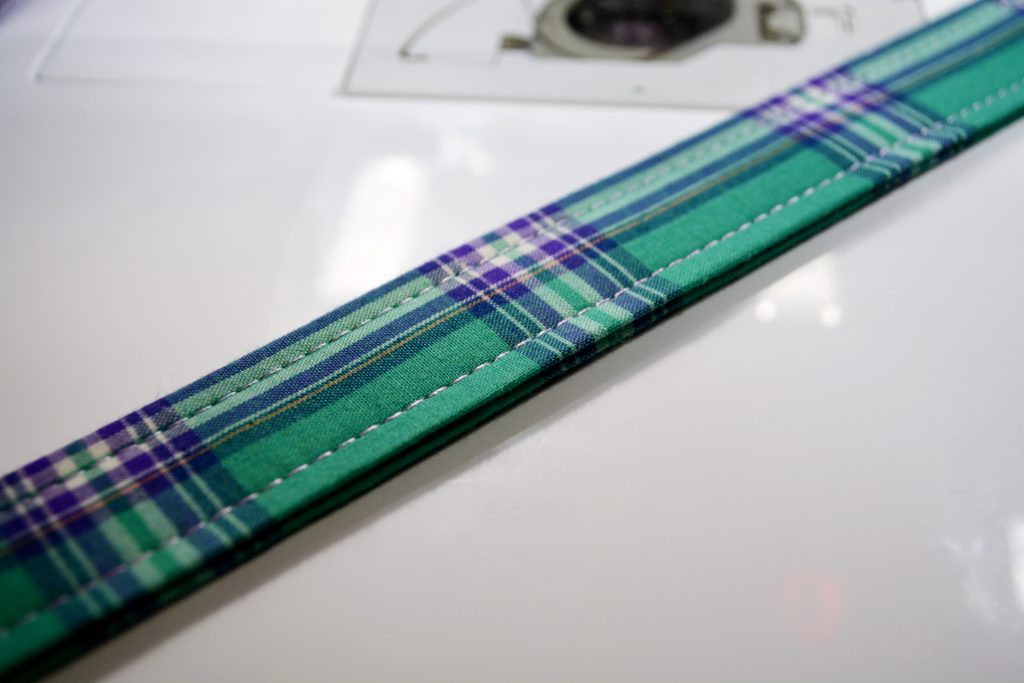
Next top stitch on both sides of the strap like in the second photo above. Once all your top stitching is done, stack the straps together and trim them so they’re exactly the same size.
Step Eleven: Sew On Straps
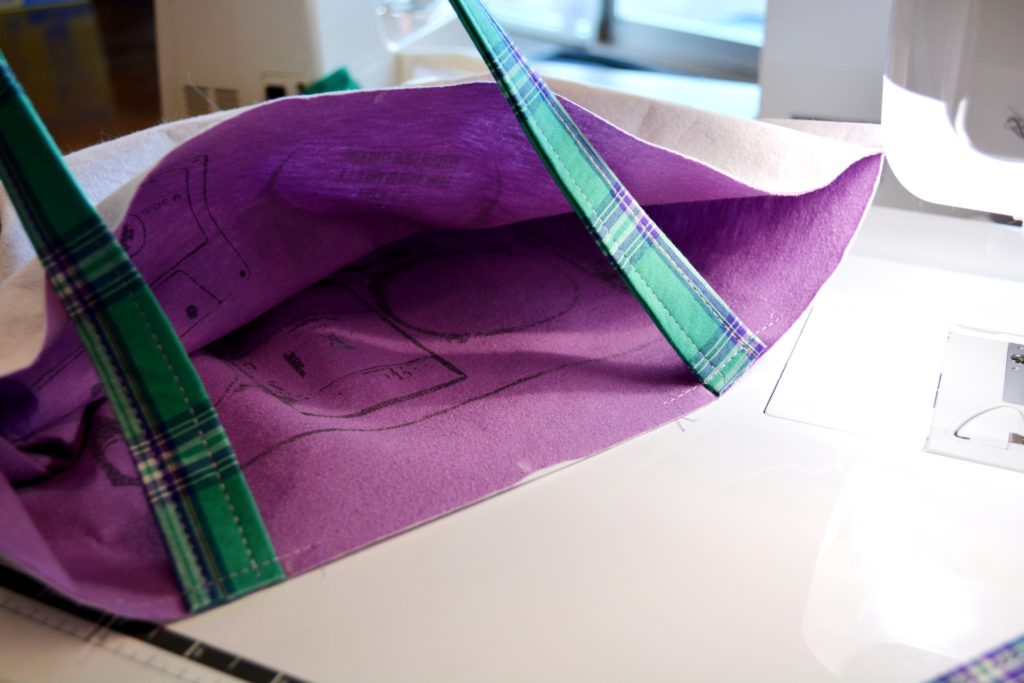
Next you tack down the straps where you want them onto the outside of the purse. We positioned them by folding the purse in half and marking the middle, then marking three inches from that spot on each side as the marks to set the straps. Your positioning may be different depending on the size of your purse. These will get sewn over again so you’re really just getting them there in position. And just a note, be careful not to twist the strap when you put it on.
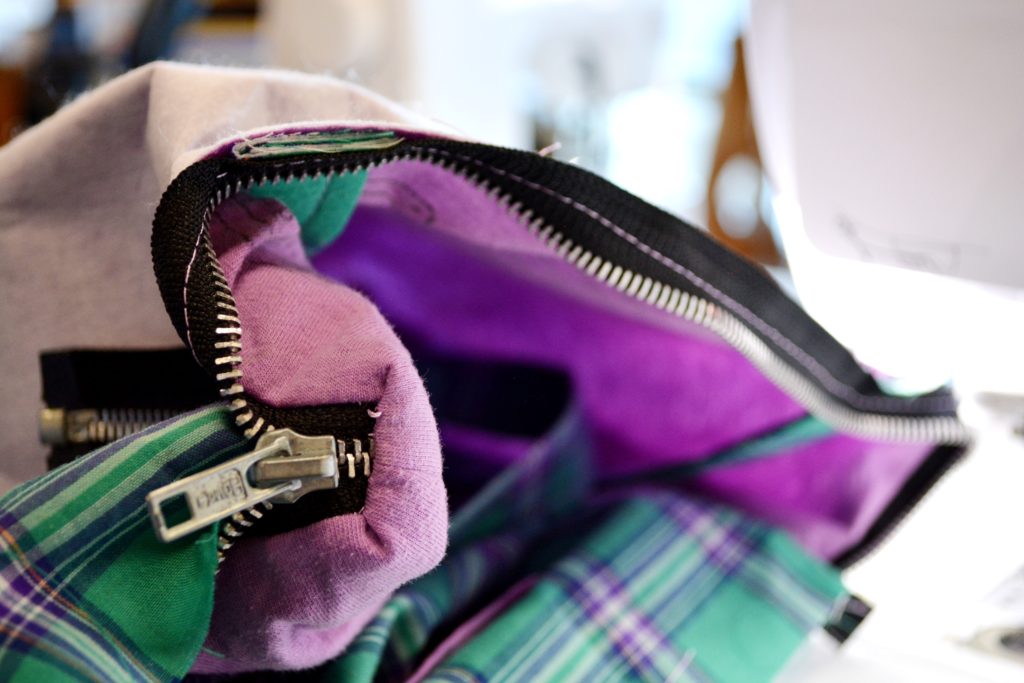
Step Twelve: Attach The Zipper & Lining
Once the straps are in place, sew the zipper onto the outside of the bag right sides together with the bag. Be sure you don’t let the straps move around when you do this, which I did, or the straps stick out in funny directions, which one of mine does. Stop about a half inch from the seam on each side. After that, you sew the lining onto the bag by putting it inside the bag and just sewing around.
Step Thirteen: Pull The Bag Right Side Out
Once the zipper is on and your lining is attached, you pull the whole thing out through the hole you left in the bottom of the lining. Once you’ve done this and marveled at your beautiful bag, pull your lining back out of the bag and stitch that hole closed. It should naturally want to turn under and be pretty easy to sew. Your stitches are going to show but that’s okay, this is going to be in the very bottom of your bag and covered by all the fun stuff you’re going to put inside it.
Step Fourteen: Top Stitch
The very last thing you do is top stitch around the top of the bag just below the zipper. This is an important step and one I didn’t want to do until Mom explained why. It is so your lining fabric doesn’t move around and get caught in the zipper. Makes sense.
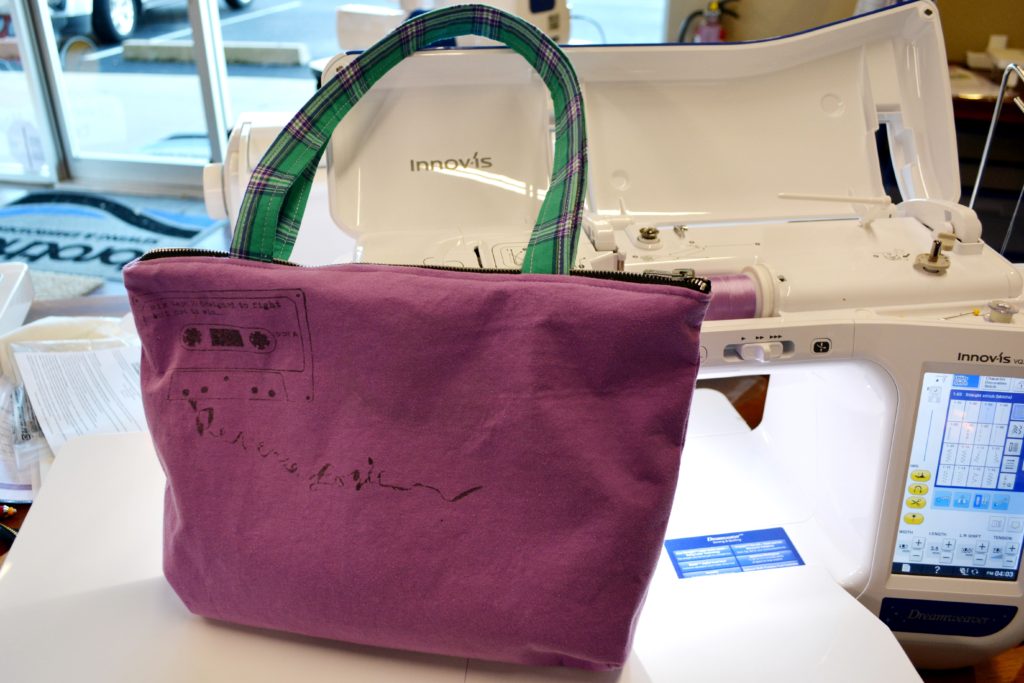
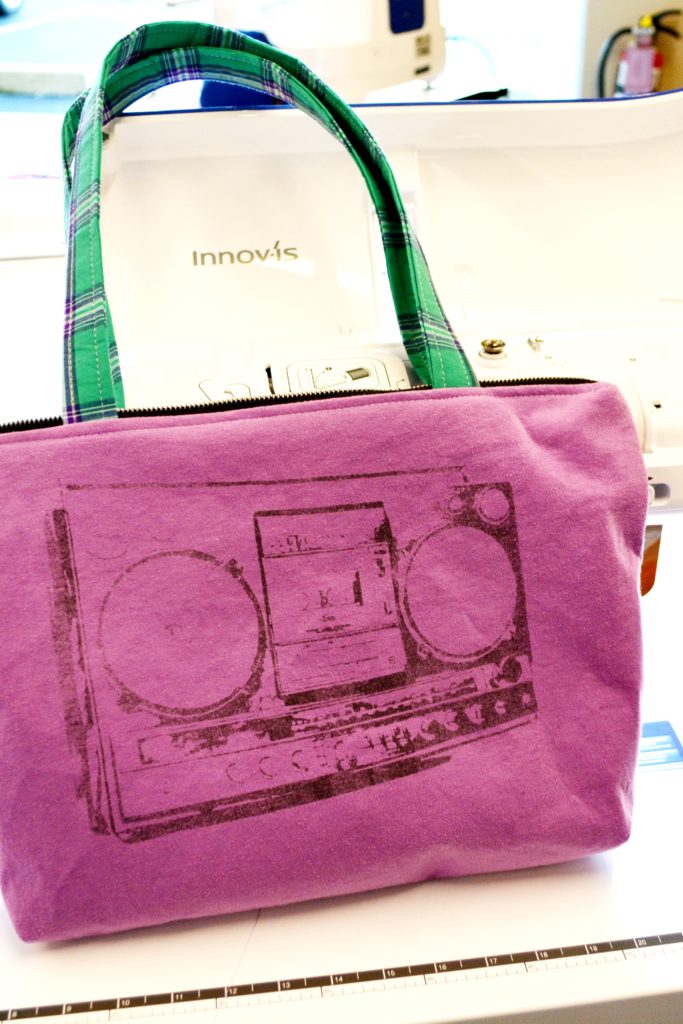
And there you have it! All the secrets revealed of my mother’s famous t-shirt bag. I hope this DIY T-shirt purse tutorial was useful. If you have any questions, please feel free to comment and if I can’t answer I’ll ask Mom. 🙂
Did you follow along and make a bag? I’d love to see. Connect with us @unicornhideout on Instagram and Facebook.
Need more DIY ideas? Click here!
Related Post

Red and Green Shot – Twelve Shots of Christmas Day 11
Red and Green Shot is the eleventh of our Twelve Shots of Christmas. It is [...]