Louise Belcher | Free Crochet Pattern
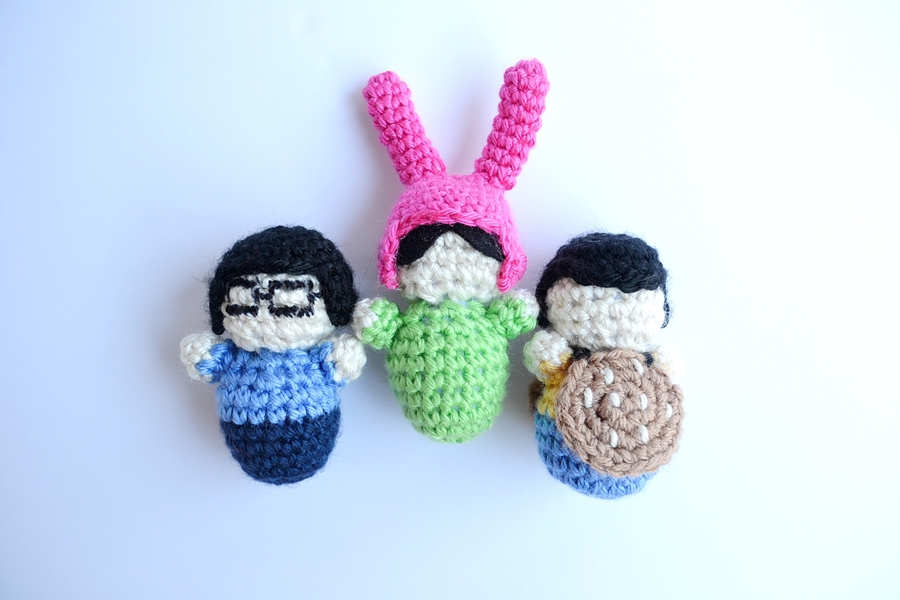
This is my easy tiny Louise Belcher amigurumi pattern! This free crochet pattern will show you how to make your own Lil Louise OF COURSE with her famous bunny ear hat. Please don’t make the hat removable because she never takes it off. 🙂 This Louise pattern is one of five free crochet patterns in my first Bob’s Burgers crochet series which features the main five members of the Belcher family – Bob, Linda, Gene, Louise and Tina. Links to other patterns will be added as they are completed. Thanks and enjoy! If you have any questions about the pattern, please contact me on social media – @unicornhideout on Instagram and Facebook.
This post features affiliate links, which means if you click a link and make a purchase we may receive a small commission. Thank you for supporting us!
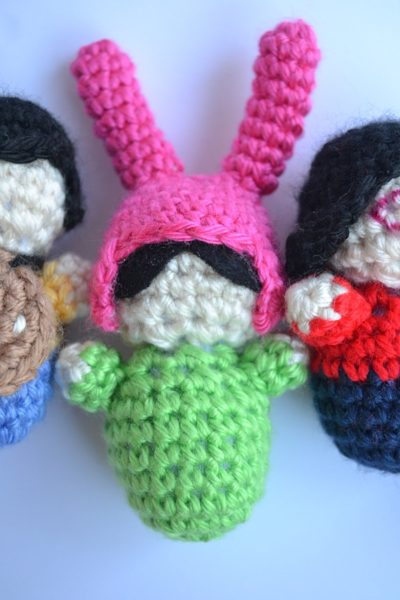
LOUISE BELCHER AMIGURUMI | FREE CROCHET PATTERN
SUPPLIES
3.75mm (F) hook
Polyfil
Yarn needle (bent tip works best)
Black felt, scissors and tacky glue
4 medium worsted weight yarn in the following colors:
You will only need small amounts of each color
- Light green
- Pink
- Light beige (skin tone)
GAUGE
4 rows of 4 sc across = 1 inch square
This amigurumi doll is all worked in the round without joining each round. Use the color change method of your choice. The body, head, hair, arms and burger suit are all made separately and sewn together using a yarn needle.
ABBREVIATIONS
st = stitch
sc = single crochet
ch = chain
inc = increase (work two sc in one st)
dec = decrease (2 sc together)
[…] = repeat instructions in brackets the indicated number of times
(…) = number of stitches in that row.
BODY
Light green yarn.
Rnd 1. sc 6 in magic ring (6)
Rnd 2. inc in next 6 st. (12)
Rnd 3. [sc in next st, inc] 6 times (18)
Rnd 4-8. sc in each st around (18) (Five rows total)
Rnd 9. [sc in next st, dec] around. (12)
Rnd 10. [dec] 6 times. (6)
Finish and stuff. Tail will not be used for sewing, so stuff tail inside body or weave in.
Note – if you find it difficult to stuff, pull out round 10 and try stuffing after round 9 and then finish round 10 while body is stuffed.
HEAD
Light beige (skin tone) yarn.
Rnd 1. sc 6 in magic ring (6)
Rnd 2. inc in next 6 st. (12)
Rnd 3. [sc in next st, inc] 6 times (18)
Rnd 4-6. sc in each st around (18)
Rnd 7. [sc in next st, dec] around. (12)
Row 8. [dec] 6 times (6)
Finish and stuff. Leave long tail for sewing.
Note – if you find it difficult to stuff, pull out round 8 and try stuffing after round 7 and then finish round 8 while body is stuffed.
ARMS
Make 2.
Light beige/skin tone yarn.
Rnd 1. sc 6 in magic ring. (6)
Color change to light green.
Rnd 2. sc in each st around. (6)
Rnd 3. sc in each st around. (6)
Finish, tie off, and stuff. Leave a long tail for sewing.
BUNNY EAR HAT
Pink yarn.
Main part of hat.
Rnd 1. sc 6 in magic ring (6)
Rnd 2. inc in next 6 st. (12)
Rnd 3. [sc in next st, inc] 6 times (18)
Rnd 4-7. sc in each st around (18)
Finish and weave in tail.
Ear flaps.
Join into any stitch and sc in that stitch.
Rnd 1. sc in the join st and next 2 st, turn, do not chain. (4)
Rnd 2. Skip next st, sc in next 2 st, turn, do not chain. (3)
Rnd 3. Skip next st, sc in next 1 st. (2)
Tie off and weave in end.
Repeat for second ear flap. For placement: there should be four stitches between the flaps. This is the front of the hat.
Bunny ears. (Make two)
Rnd 1. sc 6 in magic ring. (6)
Rnd 2. sc in each st around. (6)
Rnd 3-8. Repeat rnd 2. (6)
Leave long tail and use tail to attach each ear to top of hat. Do not stuff, and sew the ears on flat. I usually position them about one stitch to each side of the middle of the hat. When hat is on her head, they will be slightly to the back this way.
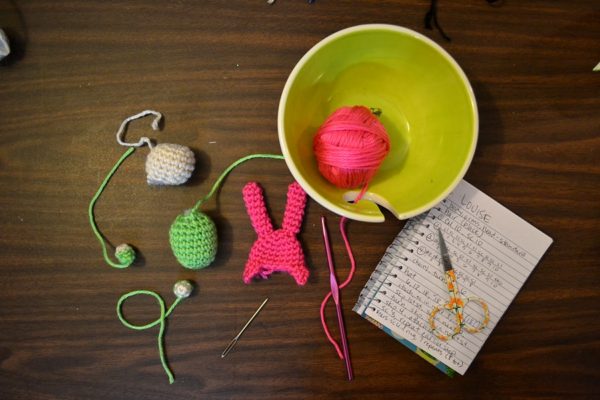
ASSEMBLY
Assemble in this order for best results!*
Attach head to body: Using a yarn needle, attach head to body at openings using your preferred method of sewing together amigurumi parts. Each opening will have six stitches and line up evenly. I prefer to use a method where you create a vertical stitch by stitching behind the post from right to left on each stitch.
Attach arms to body: Position arms as desired on body and sew on using long tail from arm and a yarn needle. If it helps, you can use a stitch marker or small pin to hold the arms in place while you are working. I usually put them around three rows below the top of the body/bottom of the head and a little to the front.
Hat & hair: This part is tricky. I glue the hat onto her head instead of doing a traditional sew on because it makes it easier, it will make sense why in a second. First, prep hair pieces (the front bangs) by cutting two small teardrop shapes out of black felt. Each hat and head is a little different, but generally they are each about one inch long and maybe 1/2 inch wide. Put glue on the very top of her head, in about a one inch circle. Then carefully put a line of tacky glue all along the inner edge of the hat. I usually skip the ear flaps – the can be left to flap as hats do. Place the hat on her head and position as you’d like. Then, before the glue dries (it takes a while) put glue on the back of the felt pieces, pull back the front of the hat slightly, and place the hair piece partially under the hat so it sticks out like bangs. Tweezers makes this a lot easier. You can add pigtails to the back of her head with felt also but I usually don’t.
*If you are new to amigurumi, assembly can be tough! Here are some tutorials from other websites to help you through.
For attaching open pieces (like the head and body)
For attaching closed pieces (like the arms to the body)
PATTERN DISCLAIMER
If you sell products made from this pattern please credit the design to Carly Arnold of Unicorn Hideout, and provide a link to the website www.unicornhideout.com. If you wish to sell your own products made from this pattern, you are not permitted to use, in part or full, any descriptions or photos from this pattern. Photos from unicornhideout.com are not permitted for use on any website, social media or pattern roundup page. If you would like to share a photo and link to this pattern, please email me at unicornhideout@gmail.com for permission. Please do not sell, distribute, duplicate, or share these patterns or downloads in any printed or digital form, or claim patterns as your own original designs.
We would love to see how your lil Gene turns out! Share photos on Instagram with #unicornhideout or share on our Facebook page.
Looking for more DIY projects? Click here.
Need more crochet inspo and FREE patterns? Click here.
2 thoughts on “Louise Belcher | Free Crochet Pattern”
Comments are closed.
These are so cute! 🙂
Thank you!